


Lighting is an essential element in any home, and ceiling downlights can significantly enhance the aesthetics and functionality of a space. Installing downlight ceiling correctly is crucial for achieving the best lighting effect. At IMIGY Lighting, we are committed to providing not only high - quality downlight products, such as our Cyclone Down Lights and Phoenix Down Lights, but also comprehensive guidance on installation. With our step - by - step instructions, you can install your downlights like a professional.
I. Preparation Before Installation
Before you start installing your downlight ceiling, thorough preparation is key. First, make sure you have all the necessary tools. You'll need a drill, a screwdriver, a measuring tape, a wire stripper, and a voltage tester. Additionally, gather all the components of your downlights. For our Cyclone Down Lights and Phoenix Down Lights, this includes the light fixtures, mounting brackets, and electrical wires.
It's also important to turn off the power supply to the area where you'll be installing the downlights. This is a crucial safety measure to prevent the risk of electric shock during the installation process.
II. Planning the Installation Location
The next step is to plan the location of your downlights. Consider the purpose of the room and the lighting needs. For example, in a living room, you might want to evenly space the downlights to provide general illumination. In a kitchen, you may need to place the downlights directly above the countertops for task lighting.
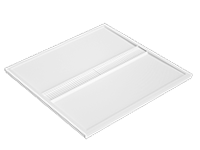
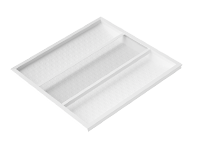
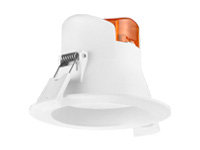
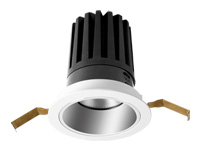
If you're using our Cyclone Down Lights, which are available in both downlight recessed and downlight surface mounted versions, you can choose the installation method based on the design of your ceiling and your personal preference. For a more seamless look, the recessed option is ideal, especially in rooms with a modern, minimalist design. The surface - mounted version of the Cyclone Down Lights can be a great choice for rooms where recessed installation is not possible or for those who prefer a more visible lighting fixture.
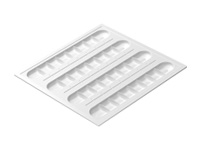
Our Phoenix Down Lights, which are also downlight dimmable, can be installed in a similar way. They are designed to blend well with different ceiling types and interior styles. Measure and mark the positions accurately on the ceiling using a measuring tape and a pencil.

III. Installing Downlight Recessed
If you've chosen the downlight recessed option for your Cyclone Down Lights or Phoenix Down Lights, follow these steps:
Cut the Hole: Use a hole - saw or a drywall saw to cut a hole in the ceiling at the marked position. Make sure the hole is the right size for the downlight fixture. For our products, the packaging usually provides the recommended hole size.
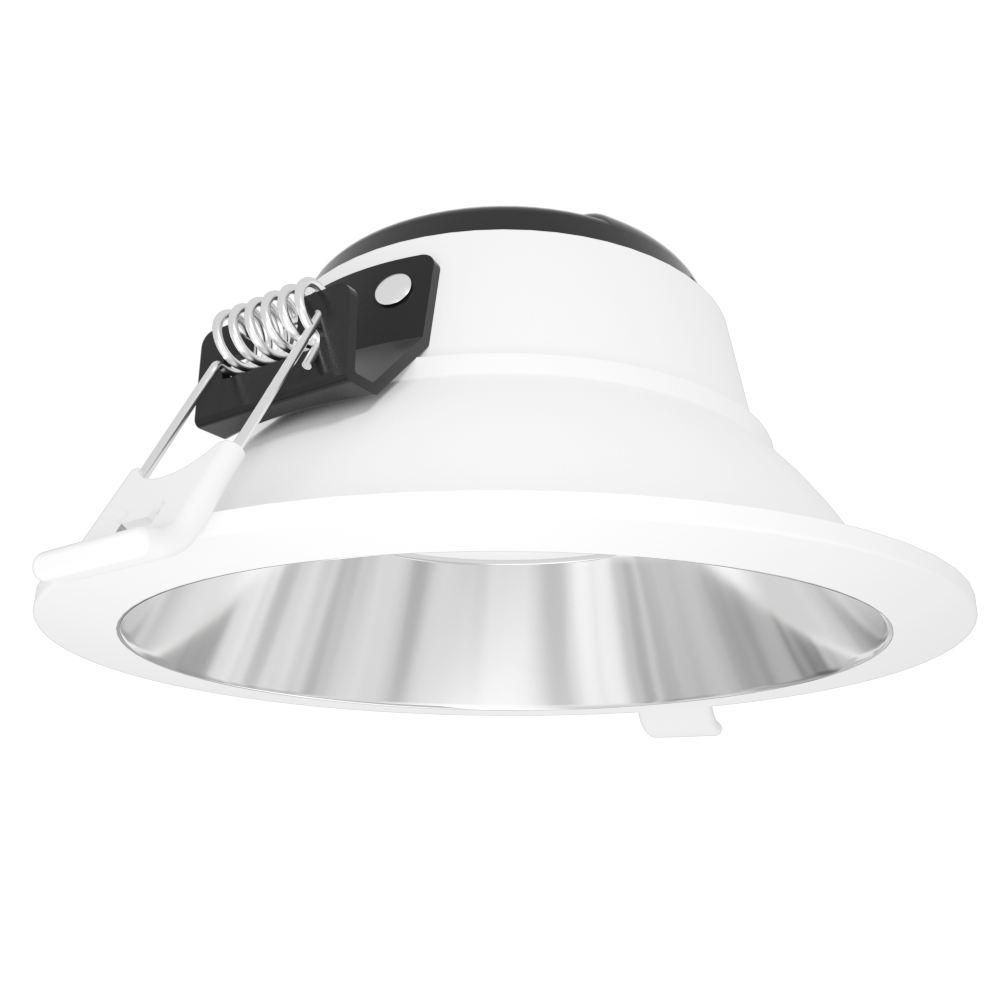
Mount the Bracket: Insert the mounting bracket into the hole and secure it to the ceiling joists using screws. The mounting bracket of our downlights is designed to be easy to install and provides a stable base for the light fixture.
Connect the Wires: Strip the ends of the electrical wires and connect them to the wires of the downlight fixture according to the wiring diagram provided in the product manual. Make sure the connections are secure and properly insulated.
Install the Light Fixture: Insert the downlight fixture into the mounting bracket and twist it to lock it in place. For our dimmable downlights like the Phoenix Down Lights, make sure the dimming mechanism is properly installed and connected.

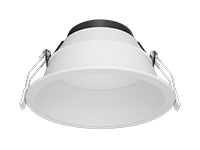
IV. Installing Downlight Surface Mounted
If you're installing the downlight surface mounted version of the Cyclone Down Lights or Phoenix Down Lights:
Mark and Drill: Mark the positions on the ceiling where you want to install the downlights. Drill holes at the marked positions and insert wall plugs.
Mount the Fixture: Attach the downlight fixture to the ceiling using screws. The fixtures of our downlights are designed to be easy to mount and provide a clean and neat look.
Connect the Wires: Similar to the recessed installation, strip the ends of the electrical wires and connect them to the wires of the downlight fixture. Ensure that the electrical connections are safe and secure.
V. Testing the Downlights
After installing the downlights, it's time to test them. Before turning on the power, double - check all the connections and make sure everything is secure. Then, turn on the power supply and test the downlights. Check if the lights are working properly and if the dimming function (for downlight dimmable models like the Phoenix Down Lights) is operating smoothly. If there are any issues, turn off the power immediately and re - check the installation steps.
Installing downlight ceiling doesn't have to be a daunting task. By following these steps and using high - quality products like our Cyclone Down Lights and Phoenix Down Lights, you can install downlights like a professional. These lights not only offer excellent lighting performance but also come with user - friendly installation features. Whether you're a DIY enthusiast or a homeowner looking to upgrade your lighting, you can achieve great results. Let IMIGY Lighting be your partner in this lighting installation journey, and together, we can create a well - lit and beautiful living space.
It is recommended that you upgrade the latest browser
 Edge
Edge


