


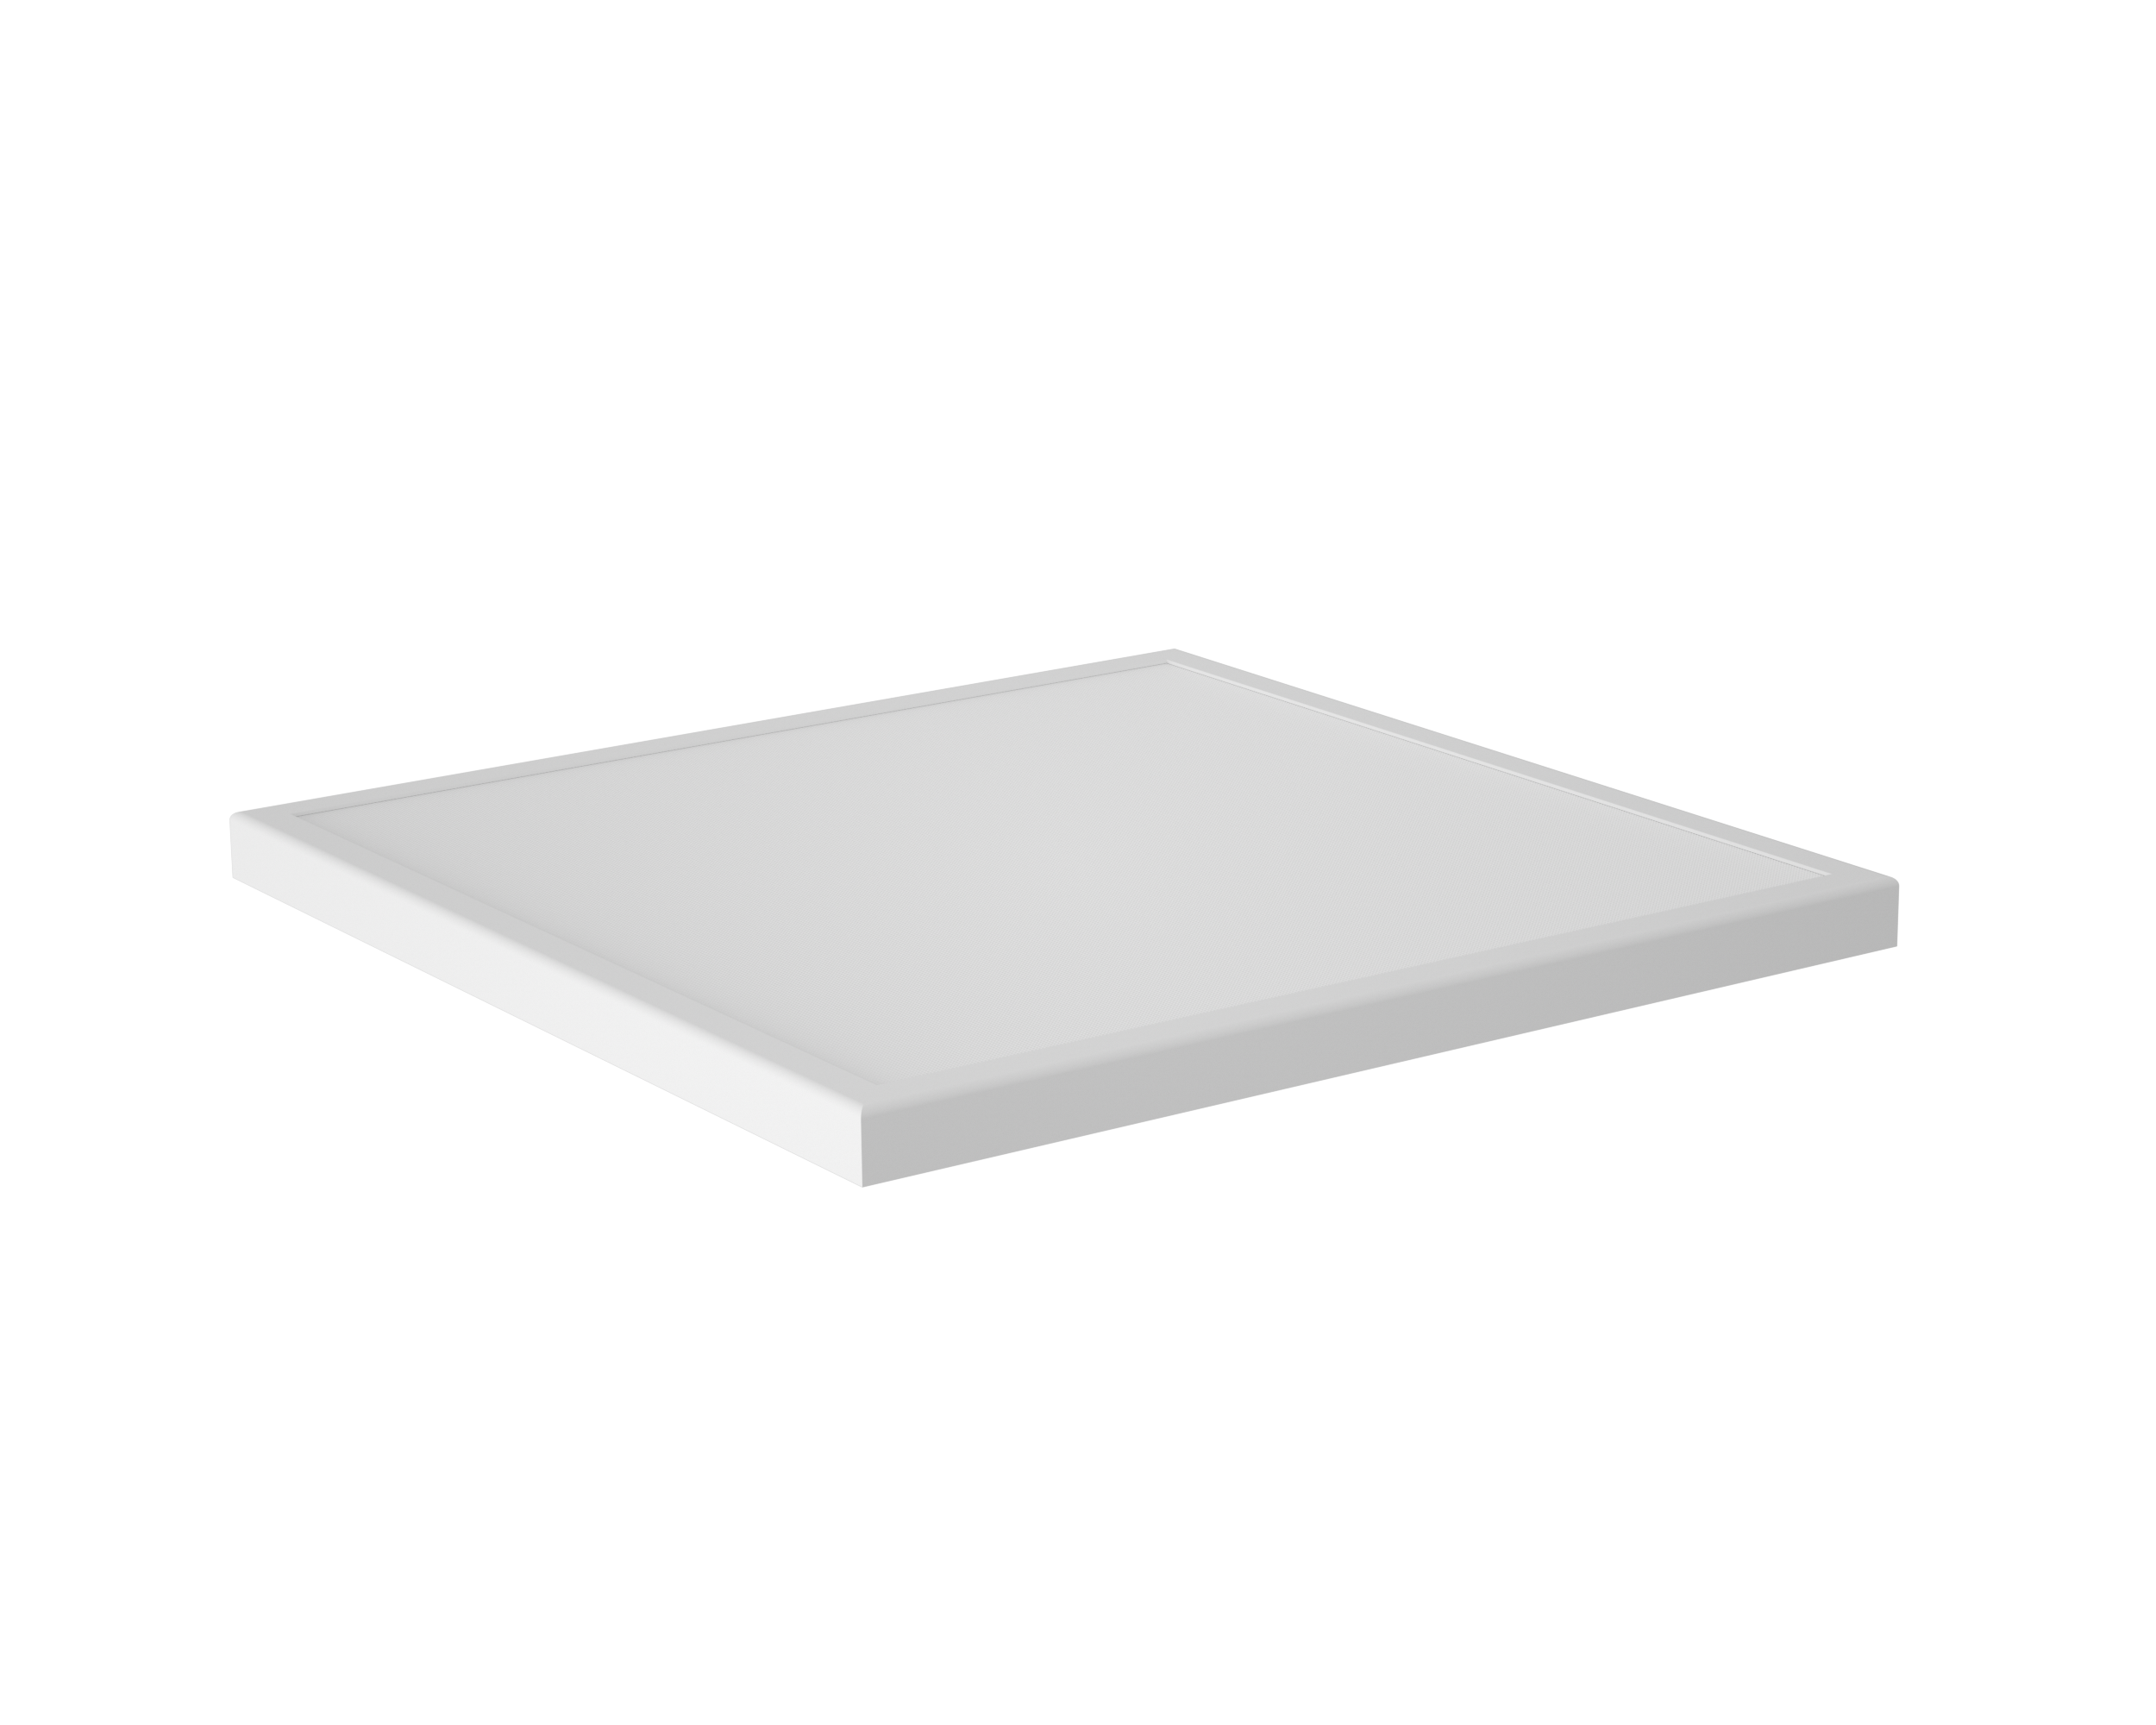


Installing down lights for ceiling is a meticulous process that demands precision and technical know-how. From measuring the perfect cutout size to adapting the ideal light source, each step plays a crucial role in achieving optimal lighting performance. At IMIGY Lighting, we understand the intricacies involved and have designed our Explorer Down Lights and Cyclone Slim Down Lights to simplify the installation journey while delivering outstanding results. Whether you’re upgrading the down light kitchen for better task lighting, enhancing the downlight design living room with ambient glow, or outfitting commercial spaces, our dimmable downlight LED and downlight adjustable products are engineered to meet diverse needs. In this comprehensive guide, we’ll walk you through the entire installation process, share professional tips, and showcase how our fixtures excel in every installation scenario.

1. Pre-installation Preparation: Tools, Precautions, and Product Selection
a. Necessary Tools
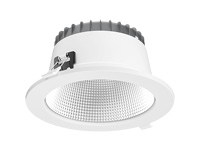
Measurement Tools: Tape measure, pencil, and a template (if provided). The Explorer Down Lights come with a precise cardboard template to ensure accurate cutout marking for down lights for ceiling installations.
Cutting Equipment: Drywall saw or hole saw, chosen according to the specified cutout diameter of your selected fixture. For Cyclone Slim Down Lights, a 3 - 4 inch hole saw typically suffices due to their slim profile.
Electrical Tools: Voltage tester, wire strippers, screwdrivers, wire connectors, and electrical tape. These are essential for safely handling the wiring of dimmable downlight LED products.
Safety Gear: Ladder, safety goggles, and insulated gloves to protect against electrical hazards and debris during installation.
b. Safety Precautions
Power Off: Before starting, turn off the power supply at the circuit breaker and use a voltage tester to confirm zero electricity flow to the installation area, especially crucial for down light kitchen setups where moisture is present.
Inspection: Check the ceiling structure for any obstructions like pipes or electrical wires. Ensure the ceiling can support the weight of the down lights for ceiling, especially for heavier models like the Explorer.
c. Product Suitability Check
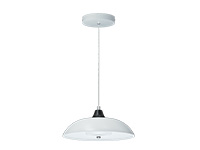
Space Requirements: Consider the room’s function and size. For a downlight design living room, the Explorer Down Lights with their downlight adjustable feature can highlight focal points, while the sleek Cyclone Slim Down Lights are ideal for low - ceilinged down light kitchen areas.
Dimming Compatibility: If planning to install dimmable downlight LED fixtures, verify that the chosen dimmer switch is compatible with your product. Both Explorer and Cyclone models support a wide range of dimmers for seamless brightness adjustment.
2. Determining the Cutout Size: The Foundation of a Secure Installation
a. Explorer Down Lights
Size Specifications: Explorer models typically come in 4 - 6 inch diameters. Refer to the product manual for the exact cutout size; for example, a 4 - inch Explorer requires a 3.75 - inch cutout. Use the provided template to mark the ceiling accurately, ensuring a snug fit for the down lights for ceiling.
Cutting Process: After marking, use a drywall saw to cut along the outline. Take care not to cut too large, as this may cause the fixture to wobble or not sit flush with the ceiling.
b. Cyclone Slim Down Lights
Slim Design Advantage: With their ultra - thin profile, Cyclone lights have smaller cutout requirements. A 3 - inch cutout is common for most Cyclone models, making them suitable for ceilings with limited space.
Precision Cutting: Due to their compact size, precise cutting is key. Use a sharp hole saw to create a clean, circular cut that matches the fixture’s dimensions perfectly.
3. Electrical Wiring: Ensuring Safety and Functionality
a. Wiring Basics
Color Coding: Identify the live (black), neutral (white), and ground (green or bare copper) wires. Strip about ½ inch of insulation from the wire ends using wire strippers.
Connection Method: Connect the fixture’s wires to the corresponding ceiling wires. For dimmable downlight LED models like Explorer and Cyclone, follow the wiring diagram in the manual to ensure proper connection to the dimmer switch.
b. Special Considerations for Different Spaces
Down Light Kitchen: In kitchens, ensure all electrical connections are secure and protected from moisture. Consider using waterproof wire connectors for down light kitchen installations to prevent short circuits.
Downlight Design Living Room: For living rooms, focus on creating a clean and organized wiring setup, especially if integrating multiple down lights for ceiling into a complex downlight design living room layout.
4. Installing the Fixture: Step-by-Step Guide
a. Explorer Down Lights
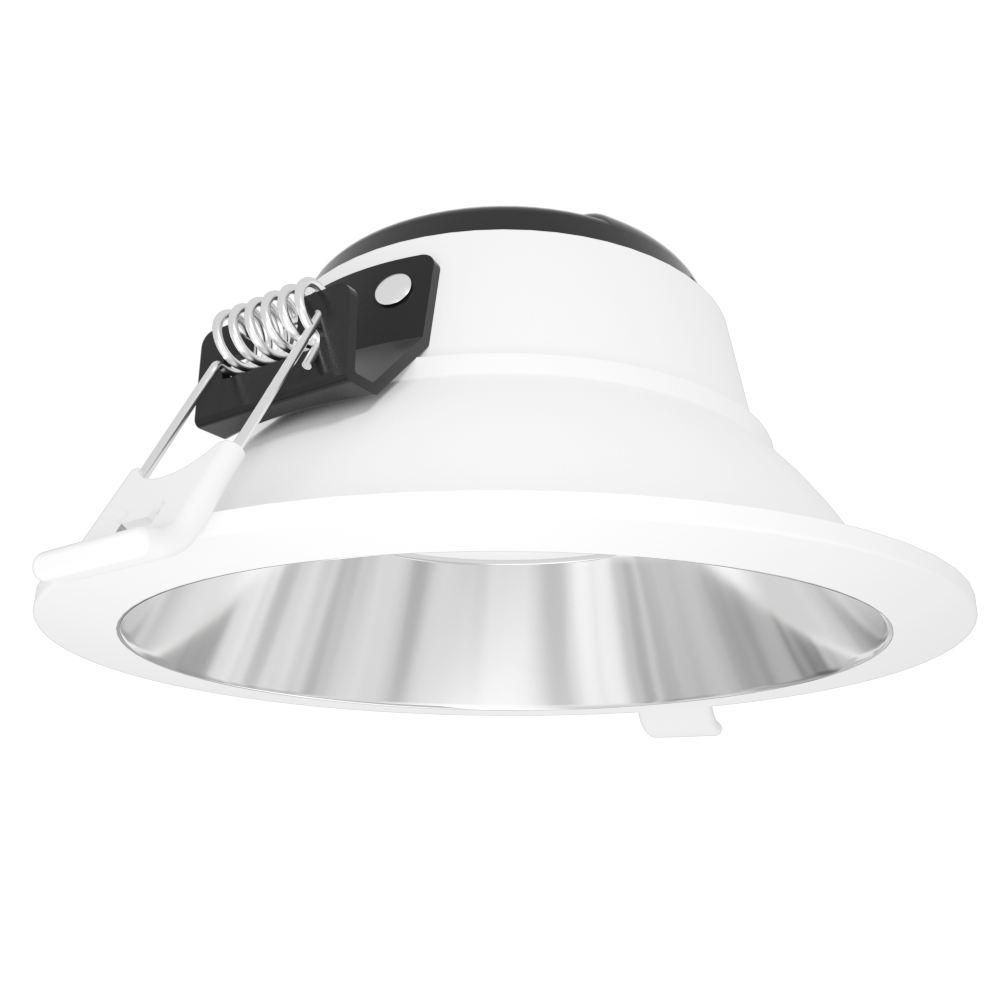
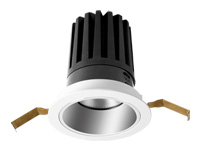
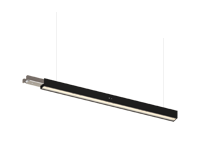
Insertion: Gently place the Explorer into the cutout. The spring clips on the fixture will expand and grip the ceiling, securing it in place.
Adjustment: If the downlight adjustable feature is needed, loosen the adjustment screws slightly and swivel the light to the desired angle. Then, tighten the screws to lock the position.
Trim Installation: Attach the decorative trim around the Explorer, ensuring it fits tightly and covers any gaps between the fixture and the ceiling.
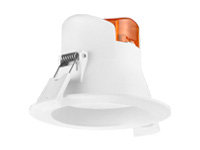
b. Cyclone Slim Down Lights
Base Mounting: First, install the mounting base to the ceiling using the provided screws. Make sure the base is level and firmly attached.
Fixture Attachment: Snap the Cyclone Slim Down Light onto the base. The fixture’s lightweight and slim design make this process quick and easy, perfect for DIY enthusiasts installing down lights for ceiling.
Sealing: Check for any gaps around the fixture and use caulk to seal them, especially in down light kitchen areas to prevent grease and moisture ingress.
5. Light Source Adaptation: Choosing the Right Bulb and Dimming Setup
a. Bulb Selection
LED Compatibility: Both Explorer and Cyclone are dimmable downlight LED fixtures. Choose bulbs with the appropriate wattage and color temperature. For down light kitchen, 4000K - 5000K bulbs enhance visibility, while 2700K - 3000K bulbs are great for downlight design living room ambiance.
Lumen Output: Consider the room size when selecting bulbs. A larger downlight design living room may require higher - lumen bulbs, while a smaller down light kitchen can be adequately lit with lower - lumen options.
b. Dimming System Setup
Switch Installation: Install the dimmer switch according to the manufacturer’s instructions. Ensure it is compatible with your dimmable downlight LED fixtures. Test the switch to make sure it controls the brightness smoothly for your down lights for ceiling.
Smart Home Integration: If desired, integrate the dimmable downlight LED fixtures into a smart home system. Both Explorer and Cyclone support connectivity with popular platforms like Alexa and Google Assistant, allowing for remote control and automation.
6. Post-installation Checks and Troubleshooting
a. Functionality Testing
Power On: After installation, turn the power back on and test the down lights for ceiling. Check if the lights turn on, dim smoothly (for dimmable downlight LED models), and if the downlight adjustable feature works as expected.
Light Distribution: Observe the light distribution in the room. In a downlight design living room, ensure the light creates a balanced ambiance, while in a down light kitchen, make sure all work areas are well - illuminated.
b. Common Issues and Solutions
Flickering Lights: This may indicate a compatibility issue between the dimmable downlight LED fixture and the dimmer switch. Check the product specifications and consider replacing the dimmer if necessary.
Uneven Illumination: If the down light kitchen or downlight design living room has uneven lighting, adjust the position of downlight adjustable fixtures like Explorer or re - evaluate the bulb selection.
7. Why Choose IMIGY Lighting for Your Ceiling Down Light Installation?
User-Friendly Design: Our Explorer Down Lights and Cyclone Slim Down Lights are designed with installation ease in mind. Clear instructions, pre - wired components, and simple mounting mechanisms make the process accessible for both professionals and DIYers.
Quality Assurance: Rigorous testing ensures that our down lights for ceiling meet the highest standards of safety and performance. From the durable housing of Explorer to the slim yet robust build of Cyclone, our products are built to last.
Comprehensive Support: We offer detailed installation guides, online resources, and responsive customer service. Whether you need help with downlight adjustable settings or dimmable downlight LED compatibility, our team is ready to assist.
It is recommended that you upgrade the latest browser
 Edge
Edge


