


Installing led recessed ceiling lights can transform your ceiling lights for living room or office ceiling lighting setup, adding both functionality and aesthetics. However, the process involves numerous technical details that, if overlooked, can lead to inefficiencies, safety hazards, or subpar performance. As IMIGY Lighting, we’ve designed our Rainbow Ceiling Lights and Floria Ceiling Lights to simplify installation while ensuring optimal results. In this comprehensive guide, we’ll walk you through each step, from measuring the perfect cutout size to setting up the dimming system, and reveal strategies to avoid common installation pitfalls. Whether you’re a DIY enthusiast or a professional installer, these insights will help you make the most of our led recessed ceiling lights and led surface ceiling light products.
1. Pre-installation Preparation: Essential Tools and Precautions
a. Necessary Tools
Measurement Tools: Tape measure, pencil, and a template (if provided with the light). For Rainbow Ceiling Lights, use the included cardboard template to mark the cutout size accurately.
Cutting Tools: Drywall saw or hole saw for cutting the ceiling. Ensure the saw blade size matches the specified cutout diameter of your led recessed ceiling lights.
Electrical Tools: Voltage tester, wire strippers, screwdrivers, and wire connectors. These are crucial for safely handling the electrical connections of both Rainbow and Floria Ceiling Lights.
Ladder: A stable ladder to reach the ceiling safely. Avoid using metal ladders near electrical work to prevent electrical shock risks.
b. Safety Precautions
Power Off: Before starting any work, turn off the power supply to the circuit at the breaker box. Use a voltage tester to confirm that there is no electricity running to the ceiling lights for living room or office ceiling lighting area.
Personal Protection: Wear safety glasses to protect your eyes from debris during cutting, and insulated gloves when handling electrical components.
2. Determining the Cutout Size: A Critical First Step

The cutout size is a make-or-break factor in the installation of led recessed ceiling lights. An incorrect size can lead to a loose fit, light leakage, or damage to the ceiling.
Standard Sizes: Rainbow lights are available in 4-inch and 6-inch diameters. Refer to the product manual for the exact cutout dimensions—usually 3.75 inches for the 4-inch model and 5.75 inches for the 6-inch version.
Template Usage: Place the provided template on the ceiling, align it with the desired location, and trace the outline. Use a drywall saw to carefully cut along the marked line. Avoid cutting too large, as this may cause the led recessed ceiling lights to sag or not fit securely.

b. Floria Ceiling Lights (Surface-Mounted but Related Considerations)
Mounting Base Size: Although Floria is a led surface ceiling light, its installation may require planning the space for the electrical box and wiring. Ensure the ceiling structure can support the weight of the fixture and that there’s enough room for the driver and connections.
Compatibility Check: If replacing an existing ceiling light for living room or office ceiling lighting with Floria, verify that the electrical box is in good condition and meets the requirements for the new light.
3. Electrical Wiring: Connecting with Confidence
Proper electrical wiring is essential for the safe and efficient operation of led recessed ceiling lights.
a. Identifying Wires
Color Coding: In most systems, the black wire is the live (hot) wire, the white wire is the neutral, and the green or bare copper wire is the ground. Use a wire stripper to expose about ½ inch of the wire ends.
Labeling: Before disconnecting old wires, label them to ensure correct reconnection. This step is crucial, especially when dealing with multiple ceiling lights for living room or office ceiling lighting fixtures.
b. Connecting Rainbow and Floria Lights
Rainbow Ceiling Lights: Connect the live wire of the light to the live wire from the ceiling, the neutral to the neutral, and the ground to the ground. Secure the connections with wire connectors. The led recessed ceiling lights come with a pre-wired harness for easy installation.
Floria Ceiling Lights: For the led surface ceiling light, follow a similar wiring process. Ensure the electrical box is properly grounded and that all connections are tight to prevent electrical shorts or flickering.
4. Installing the Fixture: Secure and Align
a. Rainbow Ceiling Lights
Insertion: Gently insert the led recessed ceiling lights into the cutout. The spring clips on the housing will expand and grip the ceiling, holding the light in place. Check that the trim is flush with the ceiling surface.
Adjustment: If the light is not level, loosen the spring clips slightly and reposition the Rainbow Ceiling Lights until it’s perfectly aligned. Tighten the clips again to secure it.
b. Floria Ceiling Lights
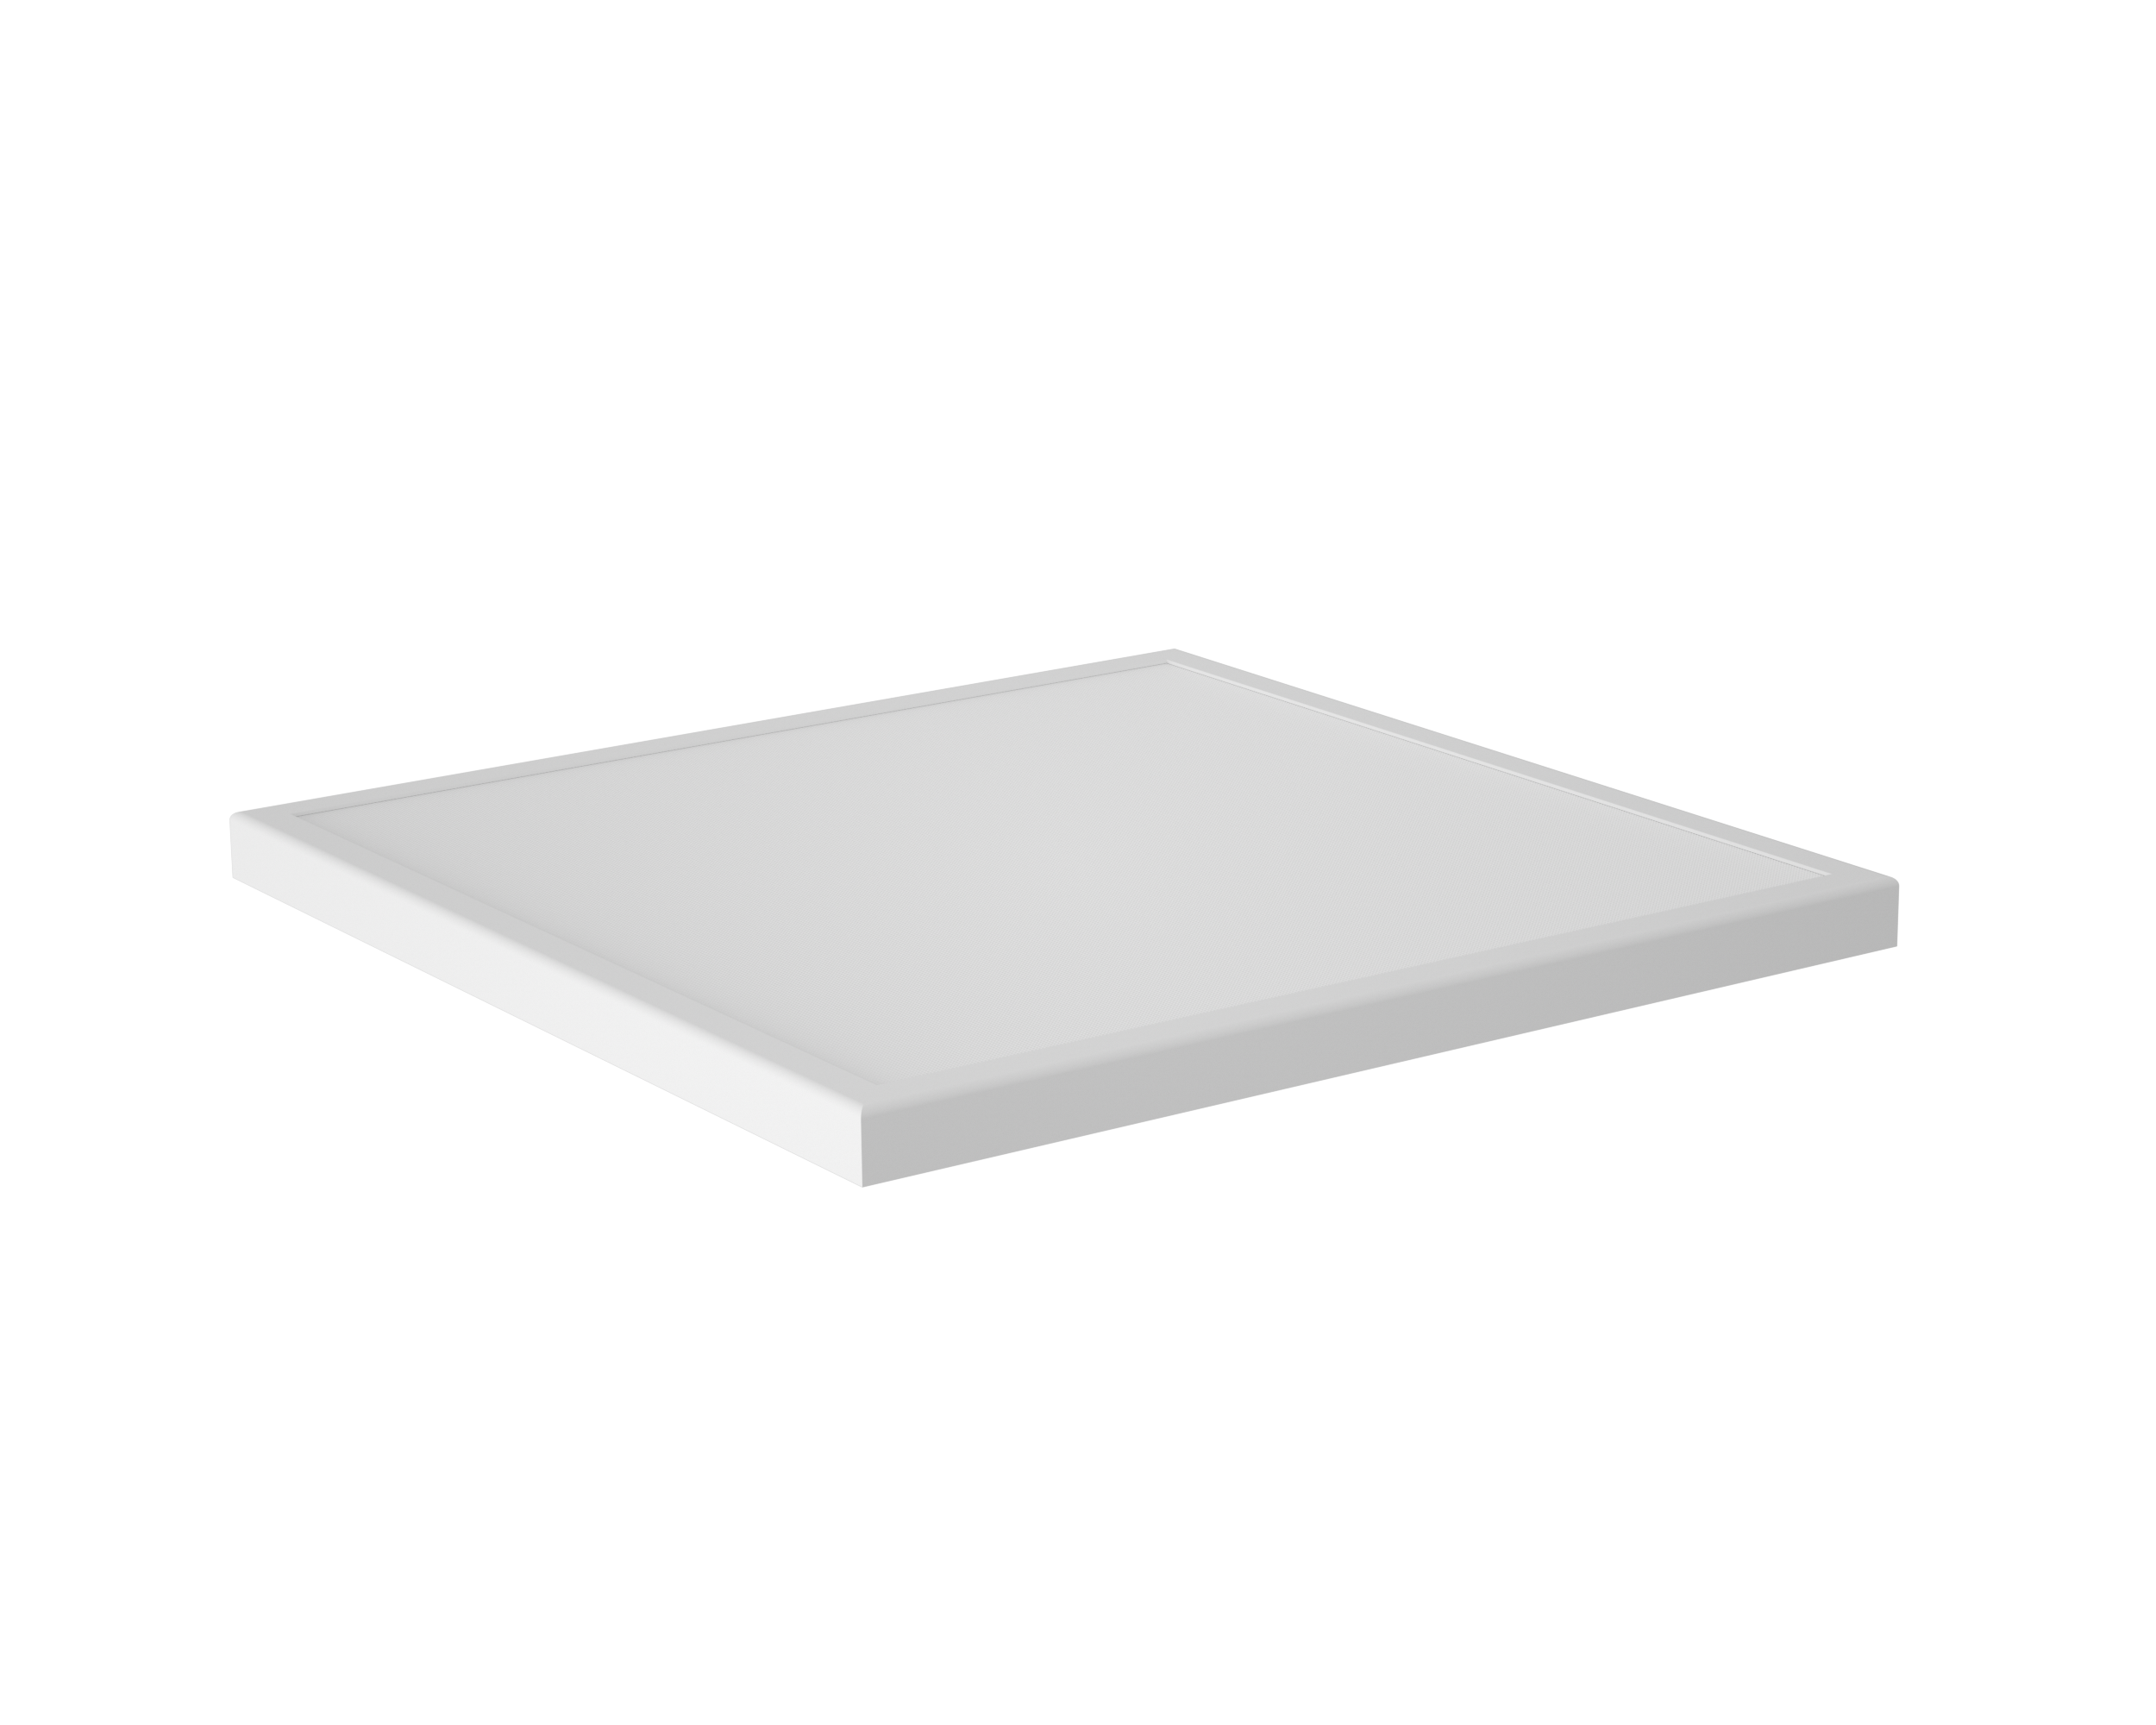
Base Mounting: Attach the mounting base of the led surface ceiling light to the ceiling using the provided screws. Make sure it’s firmly fixed before connecting the light fixture.
Fixture Attachment: Once the base is secure, snap the Floria light onto the base. Ensure all parts are properly engaged to prevent the light from falling.
5. Dimming System Setup: Customizing Your Lighting Experience
a. Compatibility Checks
Rainbow Ceiling Lights: Rainbow is compatible with most leading-edge and trailing-edge dimmers. Check the product manual for a list of recommended dimmers. Using an incompatible dimmer may cause flickering or limit the dimming range.
Floria Ceiling Lights: Floria offers both dimmable and non-dimmable versions. If you choose the dimmable model, ensure the dimmer switch is rated for LED lights to avoid damage.
b. Installation Steps
Switch Replacement: Turn off the power and remove the existing light switch. Connect the dimmer switch following the manufacturer’s instructions. For office ceiling lighting setups with multiple lights, ensure the dimmer can handle the total wattage of all fixtures.
Testing: After installation, turn the power back on and test the dimming functionality. Adjust the brightness to your preference and check for any irregularities in the ceiling lights for living room or office ceiling lighting performance.
6. Common Pitfalls and How to Avoid Them
a. Incorrect Cutout Size
Pitfall: Cutting the hole too large can make the led recessed ceiling lights unstable, while a hole that’s too small may damage the fixture during installation.
Solution: Double-check the measurements and use the provided template for Rainbow Ceiling Lights. Test-fit the light before fully securing it to ensure a proper fit.
b. Electrical Mishandling
Pitfall: Incorrect wiring can lead to electrical shorts, fires, or light malfunctions.
Solution: Always follow the color-coding and labeling procedures. If you’re unsure about any step, consult a professional electrician, especially for office ceiling lighting systems with complex wiring.
c. Dimmer Compatibility Issues
Pitfall: Using an incompatible dimmer can cause flickering, limited dimming range, or premature failure of the led recessed ceiling lights or led surface ceiling light.
Solution: Refer to the product manual for recommended dimmer models. When in doubt, choose a universal LED dimmer that’s designed to work with a wide range of fixtures.
7. Why Choose IMIGY’sLED Ceiling Lights for Installation?
User-Friendly Design: Both Rainbow Ceiling Lights and Floria Ceiling Lights are designed with installation ease in mind. The pre-wired components and clear instructions simplify the process for DIY users.
Quality Assurance: Our products undergo rigorous testing to ensure they meet safety and performance standards. When you install IMIGY lights for your ceiling lights for living room or office ceiling lighting, you can trust in their long-term reliability.
Comprehensive Support: We offer detailed installation guides, online resources, and customer support. If you encounter any issues during installation, our team is ready to assist you.
Achieving a Flawless Installation
Installing led recessed ceiling lights like our Rainbow Ceiling Lights or led surface ceiling light products such as Floria Ceiling Lights can enhance the look and functionality of your ceiling lights for living room or office ceiling lighting setup. By following this guide and avoiding common pitfalls, you can ensure a safe, efficient, and aesthetically pleasing installation. Whether you’re aiming for a cozy living room ambiance or a productive office environment, IMIGY Lighting provides the tools and expertise to make your lighting project a success. Start your installation today and experience the difference of quality LED ceiling lights.
It is recommended that you upgrade the latest browser
 Edge
Edge


