


Installing downlights on your ceiling can transform a space, but proper planning is key to achieving optimal brightness and aesthetics. As a leader in Down Lights for Ceiling solutions, IMIGY Lighting offers the Legend Down Lights and Miracle Down Lights—two series designed for seamless installation and versatile performance. Whether you’re upgrading a kitchen, living room, or office, this guide will walk you through every step, from measuring cutout sizes to designing the perfect light layout. Let’s dive in!

1. Tools and Materials You’ll Need
Before starting, gather these essentials:
Tools: Tape measure, pencil, ceiling hole saw (size depends on your fixture), voltage tester, screwdriver, wire stripper.
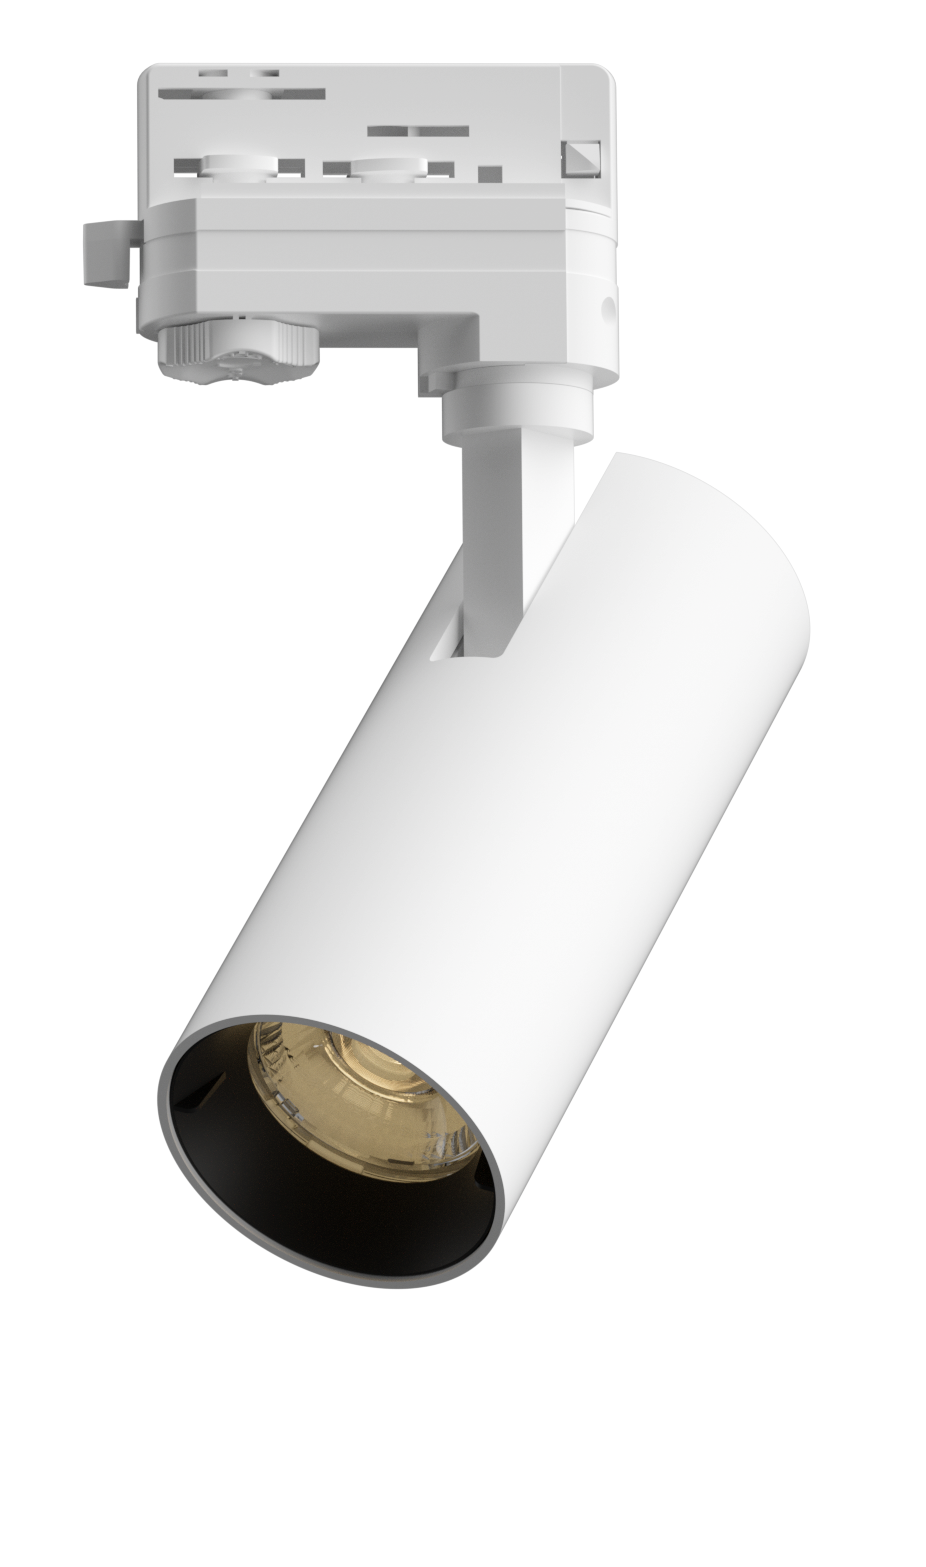
Fixtures: IMIGY Legend Down Lights (surface-mounted) or Miracle Down Lights (recessed).
Legend: Ideal for Down Light Kitchen upgrades with its no-cutout design and Dimmable Downlight LED functionality (10%-100% dimming).
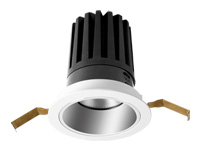
Miracle: Features Downlight Adjustable beam angle (30°-60°) and recessed design, perfect for Downlight Design Living Room aesthetics.
Accessories: Wire connectors, mounting brackets, optional dimmer switch for smart control.

2. Determine Cutout Size and Ceiling Compatibility
Surface-Mounted Fixtures (Legend Down Lights)
No Cutout Needed: Legend’s Down Lights for Ceiling surface-mounted design attaches directly to the ceiling with screws. This makes it ideal for renters or older homes without attic access.
Trim Size: Choose between 3-inch or 4-inch trims to match your kitchen or living room decor.
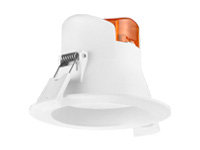
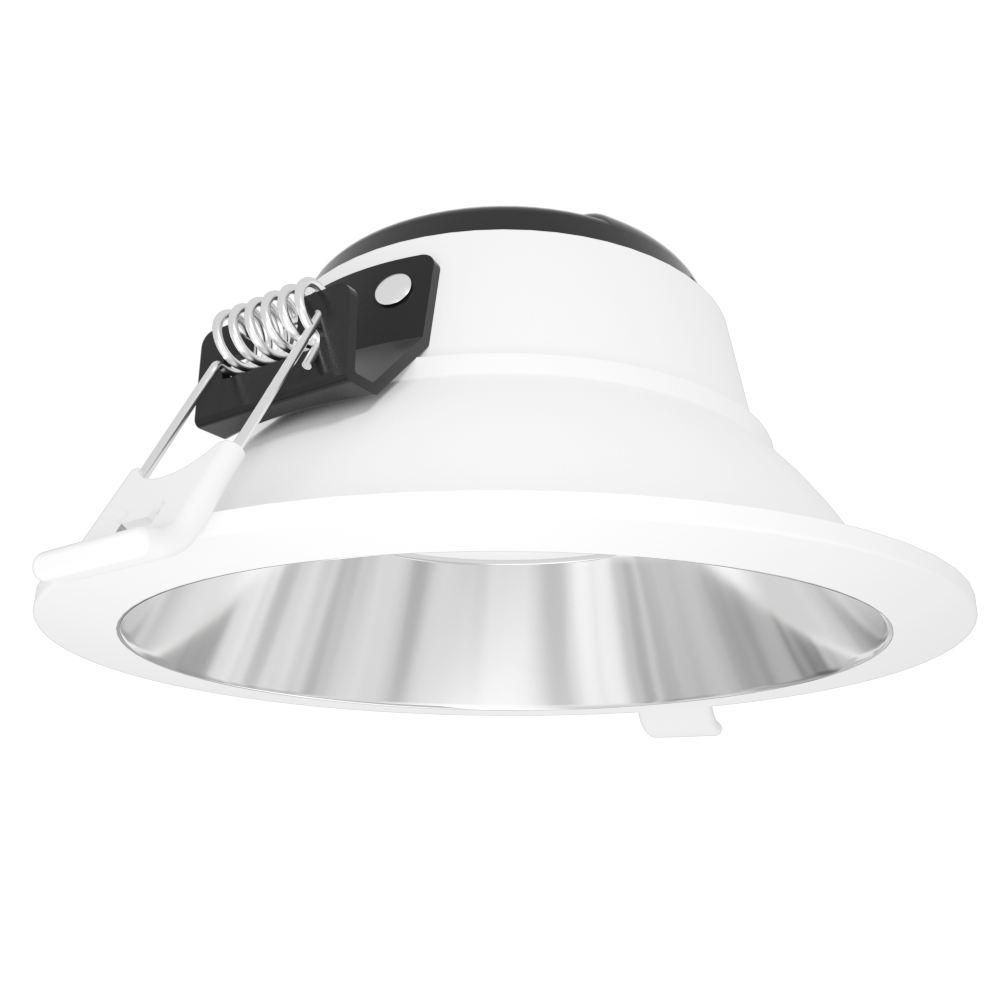
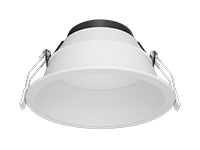
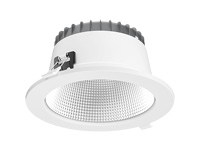
Recessed Fixtures (Miracle Down Lights)
Measure Twice, Cut Once: Use the fixture’s template to mark the ceiling. Common cutout sizes are 4 inches (Miracle’s standard) or 6 inches for larger rooms.
Ceiling Depth Check: Ensure at least 2 inches of space above the ceiling for wiring and heat dissipation. Miracle’s slim housing (1.5 inches) fits most shallow ceilings.
3. Plan Your Light Layout for Functionality
Kitchen Layout Tips
Task Zones: Install Legend Down Lights above countertops at 2-3 feet intervals. Their Dimmable Downlight LED feature (4000K-5000K) provides bright task lighting for cooking.
Island Lighting: Use Miracle Down Lights with a 30° beam angle to focus light on kitchen islands. Adjust the beam to avoid glare on overhead cabinets.
Living Room Layout Tips
Ambient Lighting: Arrange Miracle fixtures in a grid pattern, 4-6 feet apart, for even Downlight Design Living Room illumination. Use warm white (2700K) and dim to 50% for relaxation.
Accent Lighting: Tilt Miracle’s adjustable trim to highlight artwork or a TV wall, creating depth and visual interest.
4. Step-by-Step Installation Process
Surface-Mounted (Legend Down Lights)
Mark Positions: Use a tape measure to mark where fixtures will hang, ensuring symmetry.
Mount Backplate: Secure the backplate to the ceiling with screws. Connect the live (black), neutral (white), and ground (green) wires using wire connectors.
Attach Fixture: Clip the Legend fixture onto the backplate and twist the trim into place. No ceiling cutting required!
Recessed (Miracle Down Lights)
Cut the Hole: Use a hole saw to cut the marked ceiling opening. Vacuum debris to keep the area clean.
Install Bracket: Insert Miracle’s spring-loaded bracket into the hole. It will expand to hold the fixture securely.
Wiring: Connect the wires as with Legend, ensuring tight connections. Push the fixture into the ceiling until it sits flush.
Pro Tip: For smart homes, integrate a dimmer switch during wiring to unlock Dimmable Downlight LED features like voice control or app scheduling.
5. Test and Adjust for Perfect Results
Power On: Restore electricity and test each fixture. If using Miracle’s Downlight Adjustable beam, tilt the trim to direct light where needed.
Dimming Test: If you installed a dimmer, check that the lights adjust smoothly from 10%-100% without flickering.
Layout Adjustment: Step back and assess the lighting. Add or reposition fixtures if certain areas are too bright or dim.
6. Maintenance and Longevity
Cleaning: Wipe Legend’s surface-mounted trim with a dry cloth. For Miracle’s recessed fixtures, use a soft brush to remove dust from the trim edges.
Heat Management: Both series feature efficient thermal design. Miracle’s aluminum housing dissipates heat in kitchens, while Legend’s open design prevents overheating in living rooms.
Why IMIGY’s Ceiling Downlights Excel
Design Flexibility: Legend’s surface-mounted style suits quick upgrades, while Miracle’s recessed look fits modern Downlight Design Living Room themes.
Performance: Miracle’s adjustable beam and Legend’s dimming cater to Down Light Kitchen tasks and living room ambiance alike.
Reliability: Backed by a 5-year warranty, our fixtures are tested for 50,000+ hours of use, ensuring long-term satisfaction.
Transform Your Space with Professional Lighting
Installing IMIGY’s Legend or Miracle Down Lights on your ceiling is a rewarding project that elevates both functionality and style. By following this guide—from choosing cutout sizes to perfecting light layouts—you’ll create a space that’s both well-lit and visually stunning.
Ready to start? Explore our Legend and Miracle series today and enjoy the ease of installation and versatility of Down Lights for Ceiling that adapt to every room’s needs. With IMIGY, achieving professional results has never been simpler!
It is recommended that you upgrade the latest browser
 Edge
Edge


