


Upgrading your home’s lighting doesn’t have to be intimidating. Surface-mounted downlights offer a simple, stylish solution for adding brightness without complex renovations. As a best brand led downlights provider, IMIGY Lighting designed our Legend Down Lights and Explorer Down Lights with beginners in mind. These downlight surface mounted fixtures combine ease of installation with premium performance, making them perfect for kitchens, living rooms, or any space in need of a lighting refresh. In this step-by-step guide, we’ll walk you through installing these fixtures safely and efficiently, so you can enjoy professional results without the hassle.

1. Gather Your Tools and Materials
Before you start, ensure you have the following:
Tools: Phillips screwdriver, drill with ¼-inch bit, measuring tape, pencil, voltage tester.
Materials: IMIGY Legend or Explorer Down Lights, mounting screws (included), wire connectors, optional wall switch for dimming (compatible with our led dimmable downlights).
Product Spotlight:
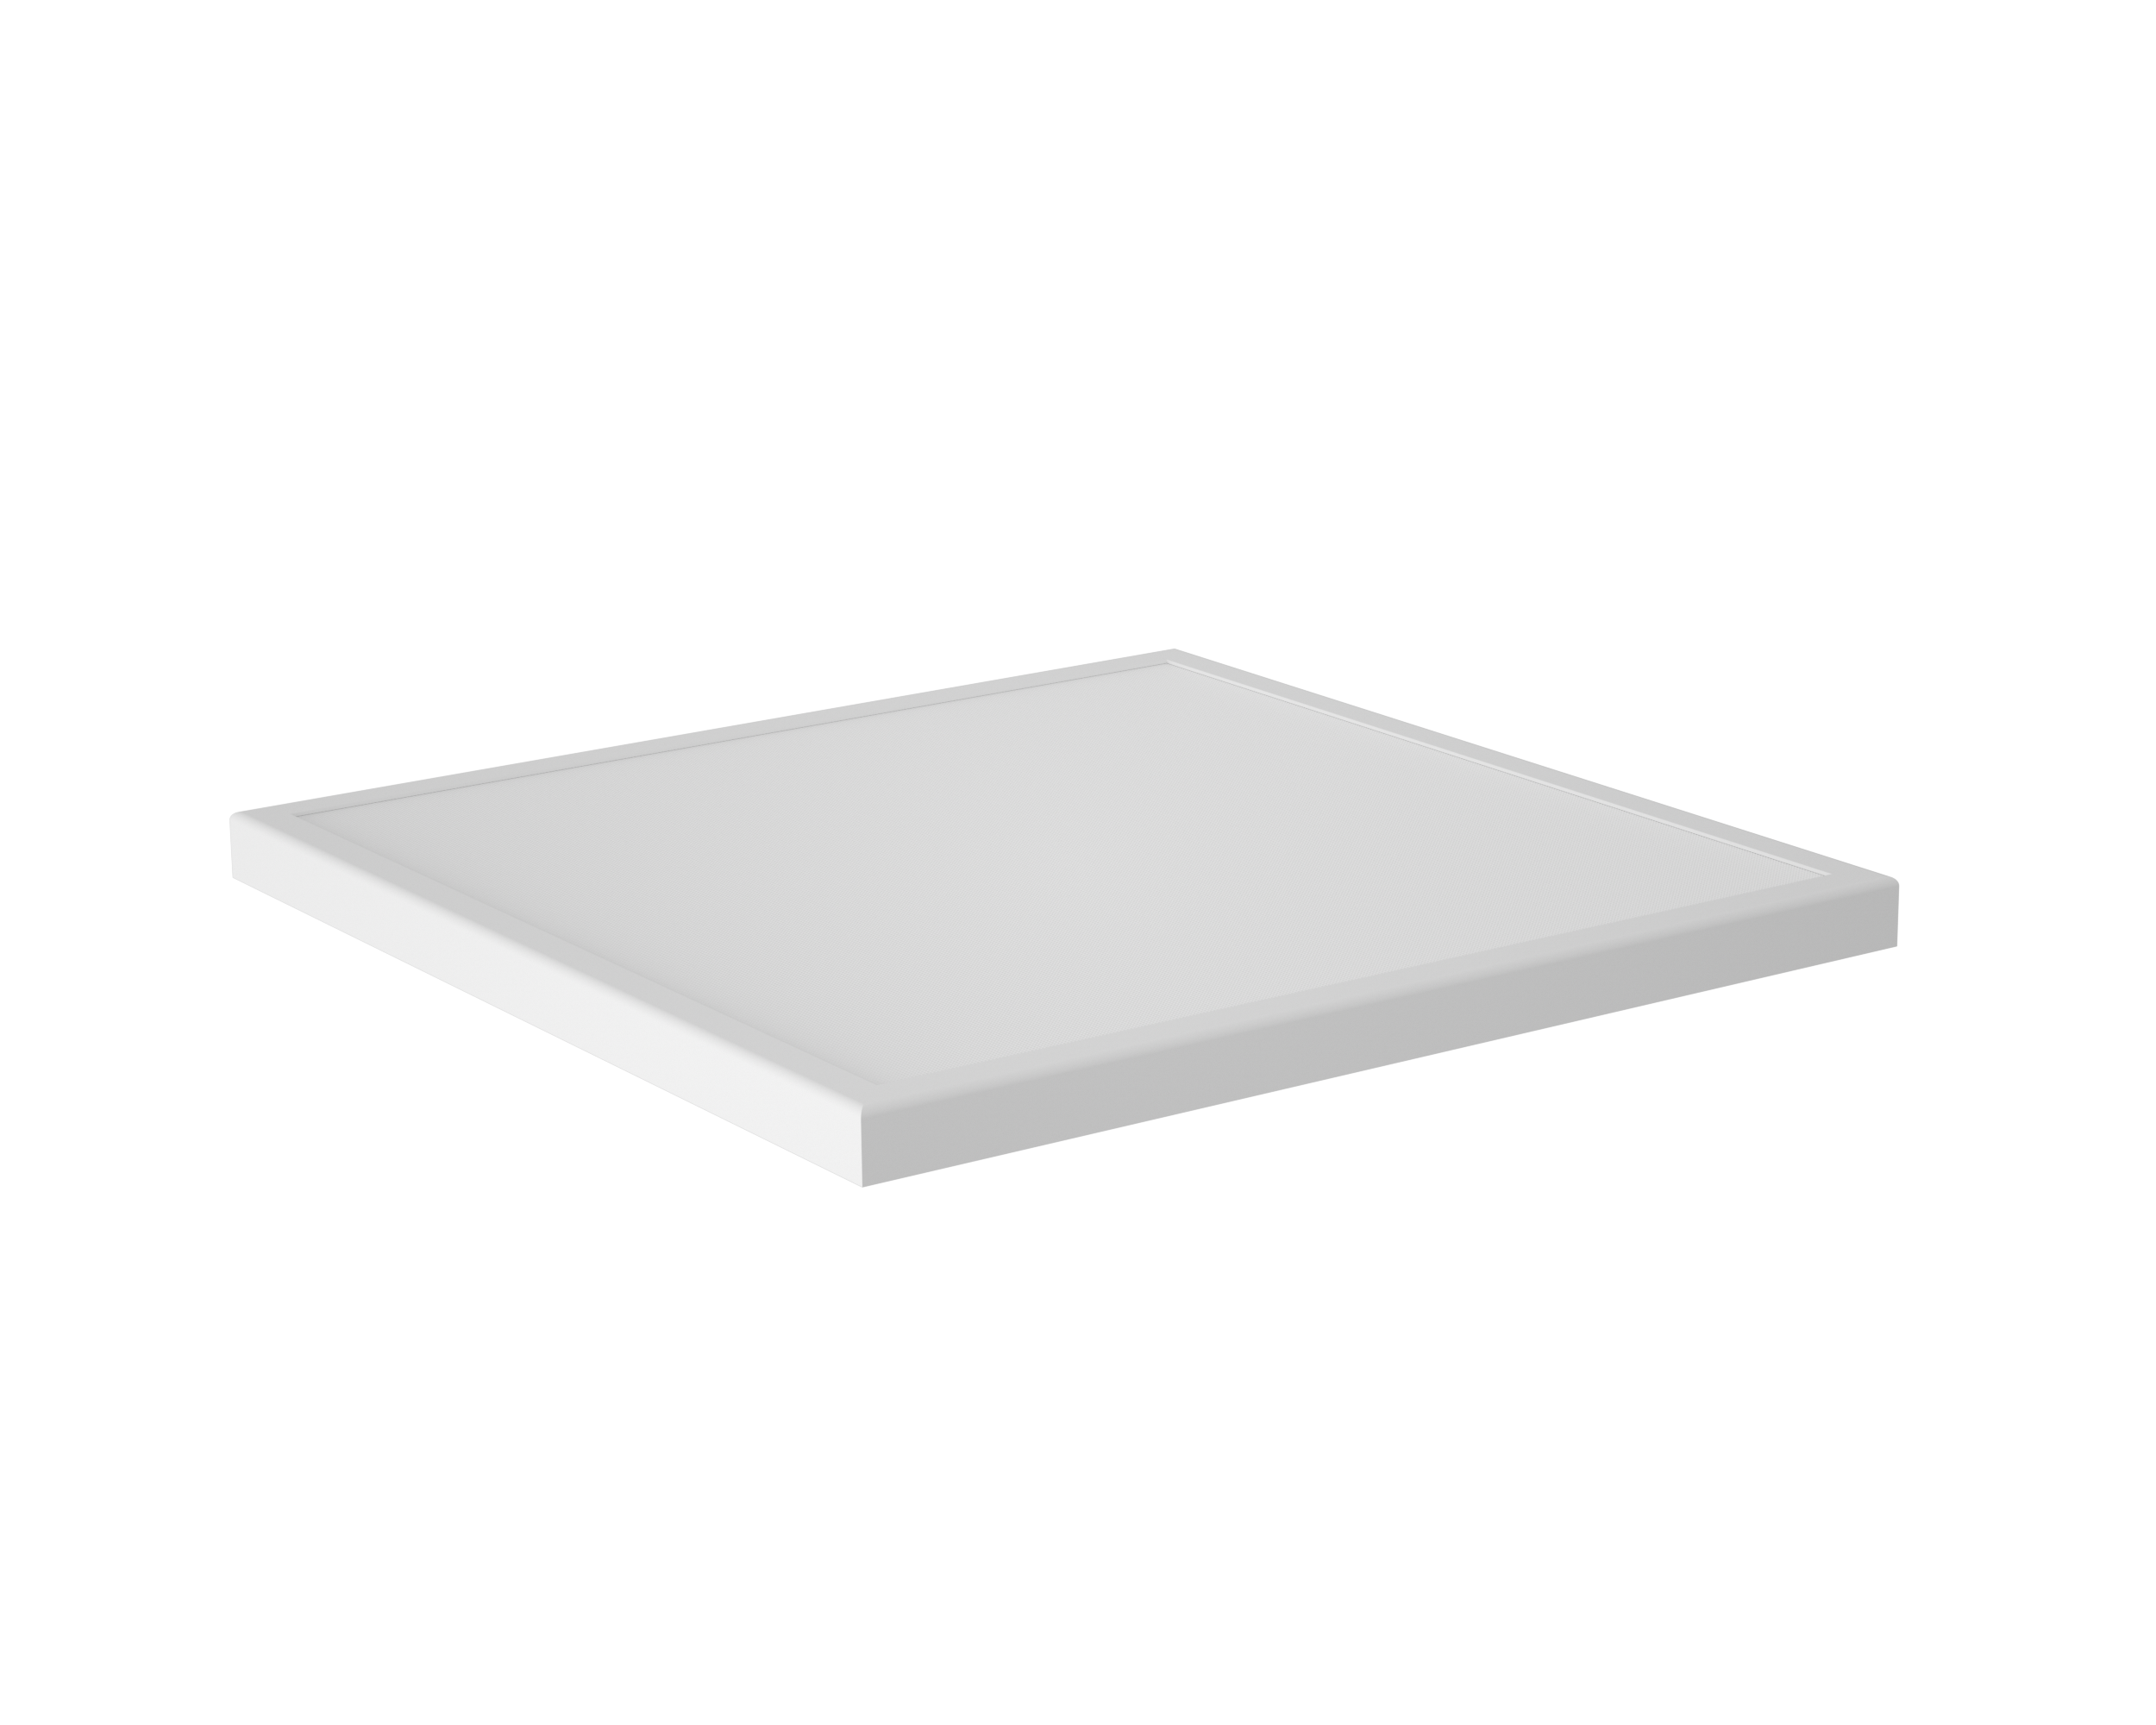
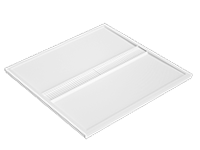
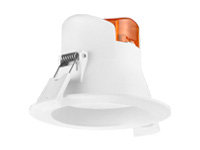
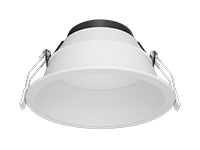
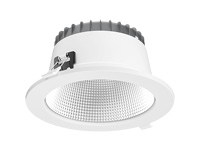
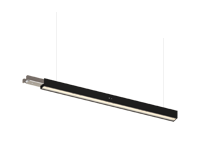
Legend Down Lights: Slim, modern design with a 3-inch trim, ideal for minimalist kitchens. Features integrated LEDs and led downlight specifications like 800 lumens at 3000K warm white.
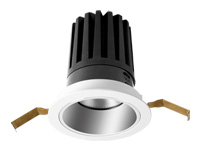
Explorer Down Lights: Versatile 4-inch fixtures with adjustable color temperature (2700K-5000K), perfect for living rooms. Both series are downlight surface mounted and come with clear installation manuals.

2. Plan Your Layout
Determine where to install the downlights based on your lighting needs:
Kitchens: Place Legend Down Lights above countertops or islands for task lighting. Aim for 2-3 feet between fixtures to ensure even coverage.
Living Rooms: Use Explorer Down Lights in a grid pattern for ambient lighting. Measure the room’s dimensions and mark ceiling positions with a pencil.
Tip: For optimal brightness, ensure each fixture is at least 18 inches from walls. Both series are energy-efficient (85+ lm/W), so you can install fewer fixtures while maintaining ample light.
3. Turn Off the Power
Safety first! Switch off the circuit breaker for the room you’re working in. Use a voltage tester to confirm no power is running to the ceiling wires. This is crucial for avoiding electrical shocks during installation.
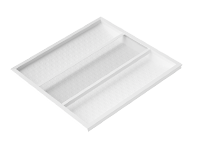
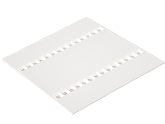
4. Mount the Backplate
Step 1: Attach the Backplate
Align the backplate of your Legend or Explorer Down Light with the marked ceiling position.
Secure it with the provided screws using a Phillips screwdriver. The backplate’s pre-drilled holes make this step straightforward.
Step 2: Connect the Wires
Strip ½ inch of insulation from the ceiling’s live (black), neutral (white), and ground (green/yellow) wires.
Connect the live wire to the fixture’s black wire, the neutral to the white wire, and the ground to the green screw on the backplate. Use wire connectors to secure each connection tightly.
Pro Feature: Explorer Down Lights support dimming, so if you’re installing a dimmer switch, follow the manufacturer’s instructions to wire it into the circuit before connecting to the fixture.
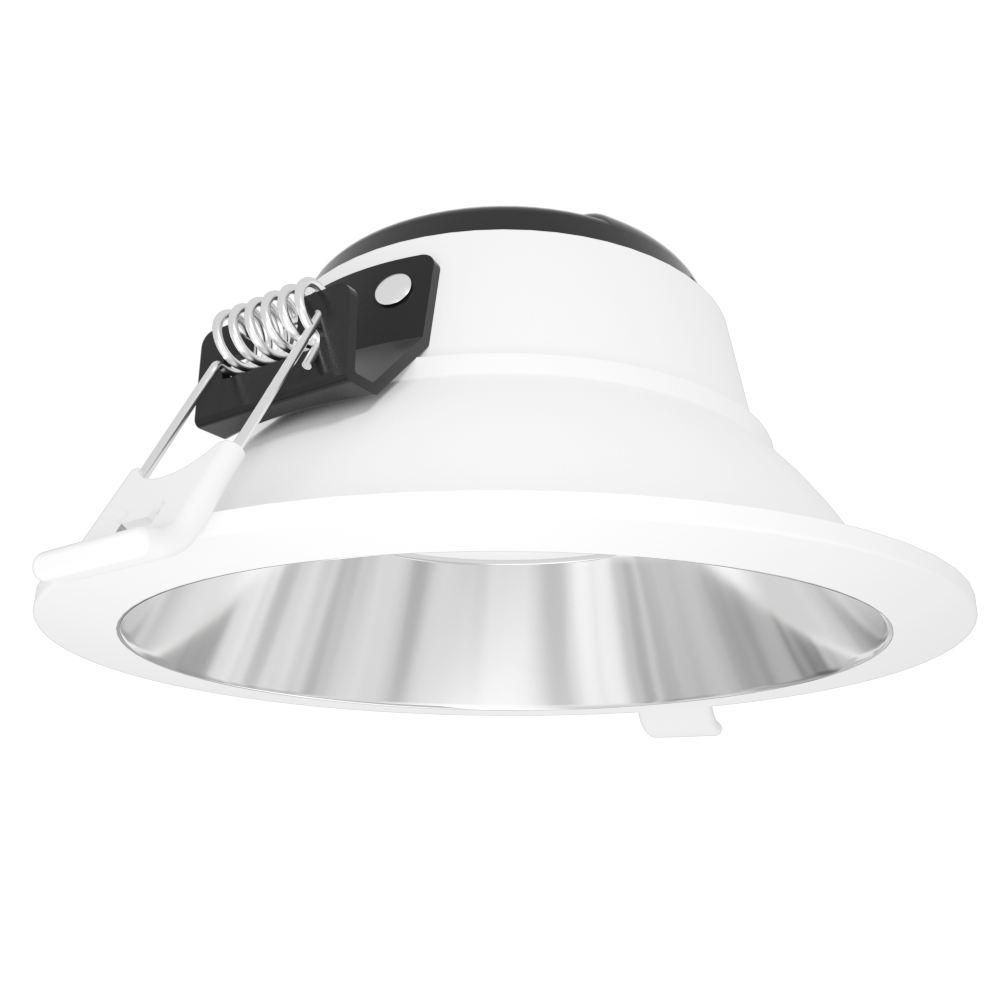
5. Attach the Fixture and Trim
Step 1: Clip the Fixture into Place
For Legend Down Lights, simply clip the main fixture onto the backplate until it clicks into place. The magnetic design of Explorer Down Lights allows for easy alignment and attachment.
Ensure the fixture is securely fastened and sits flush against the ceiling.
Step 2: Install the Trim
Slide the decorative trim over the fixture. For Legend, the trim snaps into place; Explorer’s trim twists on smoothly, hiding all wiring and hardware for a sleek look.
Design Note: Both series offer trim options in matte black or white, allowing you to match your kitchen or living room decor seamlessly.
6. Test the Lights and Finish
Restore power at the circuit breaker.
Switch on the lights to ensure they illuminate properly. If using Explorer’s led dimmable downlights, test the dimmer function to ensure smooth adjustment.
Use a soft cloth to wipe any fingerprints from the trim and ensure the fixture looks pristine.
Troubleshooting Common Issues
Fixtures Don’t Turn On: Check wire connections and ensure the circuit is live.
Flickering Lights: This may indicate a loose connection or incompatible dimmer. Tighten wires or upgrade to a trailing-edge dimmer (recommended for IMIGY’s led dimmable downlights).
Uneven Lighting: Adjust the trim or reposition fixtures to ensure proper spacing.
Why IMIGY’s Surface-Mounted Downlights Are Ideal for DIY
As a best brand led downlights provider, we’ve engineered Legend and Explorer series for hassle-free installation:
No Ceiling Cutting: Surface-mounted design eliminates the need for recessed holes, making it perfect for renters or older homes.
Plug-and-Play Compatibility: Fixtures work with standard household wiring, and no special tools are required.
Durable Construction: Both series use fire-resistant materials, ensuring safety and longevity in kitchens or high-traffic areas.
Conclusion: Light Up Your Space with Confidence
Installing downlight surface mounted fixtures like IMIGY’s Legend and Explorer Down Lights is a straightforward project that anyone can tackle. Whether you’re upgrading your kitchen with bright, energy-efficient task lighting or enhancing your living room with adjustable ambiance, these fixtures deliver style and performance without the complexity.
Ready to start? Explore our Legend and Explorer series today and experience the ease of installing best brand led downlights that transform your space in hours, not days. With IMIGY, even beginners can achieve professional-quality results—one fixture at a time!
It is recommended that you upgrade the latest browser
 Edge
Edge


