


In the world of home improvement, there's a unique sense of accomplishment that comes with taking on a DIY project. Installing an LED ceiling light is not only a practical upgrade for your living or working space but also an achievable task for DIY enthusiasts. At IMIGY Lighting, we are committed to providing high - quality lighting solutions that are not only stylish and energy - efficient but also easy to install. Our Floria Ceiling Lights and Sunflower Ceiling Lights are prime examples of the latest ceiling lights that combine functionality with aesthetics. In this article, we will walk you through a detailed, step - by - step guide on how to install these best ceiling LED panel lights, which are also dimmable ceiling lights and flat ceiling lights, so you can enjoy a well - lit and beautiful space in no time.
Why Choose IMIGY Lighting's LED Ceiling Lights
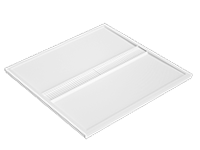
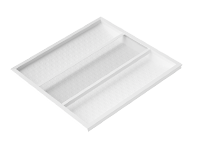
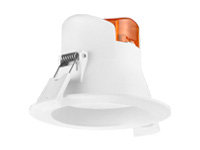
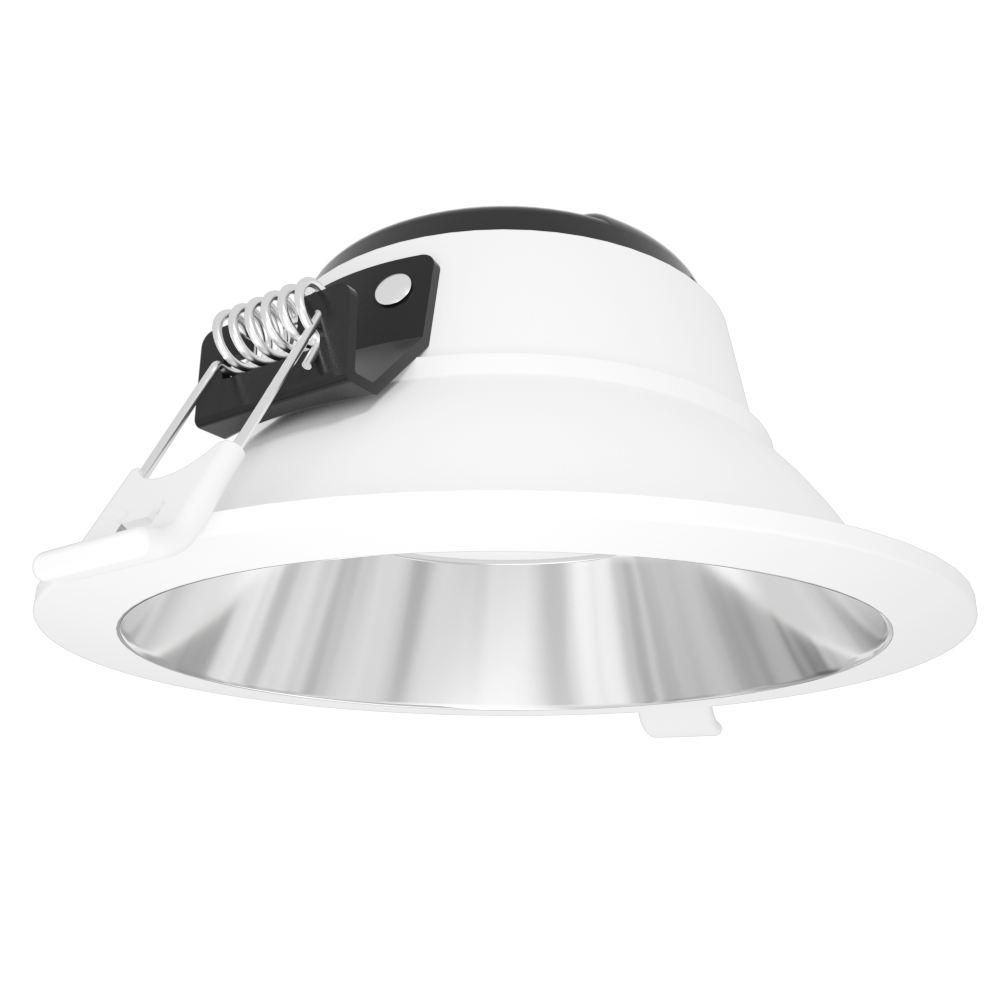
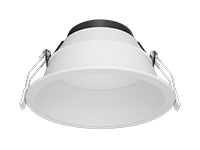
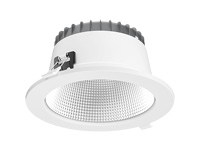
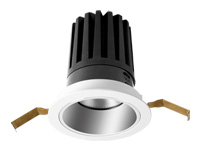
Before diving into the installation process, it's important to understand why our Floria Ceiling Lights and Sunflower Ceiling Lights stand out. The Floria Ceiling Lights feature a sleek and modern design. The light panels, made of high - quality materials, ensure durability and a long lifespan. Available in square and rectangular shapes, they can be easily integrated into various interior styles, whether it's a contemporary living room or an industrial - themed office. As flat ceiling lights, they sit flush against the ceiling, creating a clean and unobtrusive look. What's more, they are equipped with advanced dimming technology, allowing you to adjust the light intensity according to different occasions, making them ideal dimmable ceiling lights for any space.
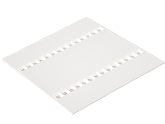
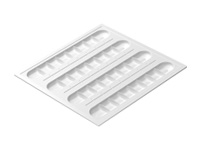
Our Sunflower Ceiling Lights, on the other hand, offer a unique and eye - catching design. Resembling a blooming sunflower, they add a touch of charm and creativity to any room. These lights are also flat ceiling lights, providing a low - profile and unobtrusive appearance when installed. They are made with the latest LED technology, ensuring energy - efficiency and high - quality illumination. Just like the Floria Ceiling Lights, the Sunflower Ceiling Lights are dimmable, giving you the flexibility to create different lighting moods.
Tools and Materials Needed
Tools:
Drill: To make holes in the ceiling for mounting the light fixture.
Screwdriver: For tightening screws during the installation process.
Wire Stripper: To strip the insulation from the electrical wires.
Voltage Tester: To ensure there is no electrical current flowing through the wires before starting the installation.
Tape Measure: To accurately measure the position on the ceiling for installing the light.
Materials:

Your chosen IMIGY Lighting LED ceiling light (either Floria Ceiling Lights or Sunflower Ceiling Lights), which comes with all the necessary mounting hardware, such as screws, anchors, and a mounting plate.
Electrical Wire Nuts: To connect the wires securely.

Electrical Tape: To insulate and protect the wire connections.
Step - by - Step Installation Process
Step 1: Safety First
Before starting any electrical work, turn off the power supply to the area where you will be installing the LED ceiling light at the circuit breaker. Use a voltage tester to double - check that there is no electricity flowing through the wires. This is a crucial step to prevent any electrical accidents.
Step 2: Prepare the Ceiling
Measure the position on the ceiling where you want to install the light. For a centered look, measure the dimensions of the room and mark the center point. If you're installing multiple lights, measure and mark the positions evenly.
For the Floria Ceiling Lights and Sunflower Ceiling Lights, which are flat ceiling lights, drill holes at the marked positions. The size of the holes should match the anchors provided with the light fixture. Insert the anchors into the drilled holes.
Step 3: Mount the Mounting Plate
Take the mounting plate that comes with your Floria Ceiling Lights or Sunflower Ceiling Lights. Align the holes on the mounting plate with the anchors in the ceiling.
Use screws to attach the mounting plate firmly to the ceiling. Make sure the mounting plate is level. This will ensure that the light fixture is installed straight.
Step 4: Wiring
Strip the ends of the electrical wires, both the ones from the power supply and the ones connected to the light fixture. Usually, black is the live wire, white is the neutral wire, and green or bare wire is for grounding.
Connect the wires according to the standard color - coding. Twist the exposed ends of the corresponding wires together and secure them with wire nuts. Wrap the wire connections with electrical tape to ensure safety and prevent any short - circuits.
Step 5: Install the Light Fixture
Lift the Floria Ceiling Light or Sunflower Ceiling Light and align it with the mounting plate on the ceiling.
For the Floria Ceiling Lights, which are best ceiling LED panel lights, carefully attach the light panel to the mounting plate using the provided screws. Make sure the light panel is firmly secured.
For the Sunflower Ceiling Lights, follow the specific installation instructions provided. The unique design may require a slightly different attachment method, but it will be straightforward with the clear instructions included.
Step 6: Test the Light
After the light fixture is installed, turn on the power supply at the circuit breaker.
Check if the light is working properly. If it's a dimmable ceiling light like our Floria Ceiling Lights and Sunflower Ceiling Lights, test the dimming functionality to ensure it's working smoothly. If there are any issues, turn off the power immediately and check the wiring and installation.
Tips for a Successful Installation
Read the Installation Manual: Each of our IMIGY Lighting products, whether it's the Floria Ceiling Lights or Sunflower Ceiling Lights, comes with a detailed installation manual. Read it thoroughly before starting the installation to familiarize yourself with the process and any specific instructions for your light fixture.
Check for Compatibility: Ensure that the electrical system in your home is compatible with the LED ceiling light you're installing. Our lights are designed to be compatible with most standard electrical systems, but it's always better to double - check.
Work with a Partner: Installing a ceiling light can be a bit tricky, especially when holding the light fixture in place while attaching it to the ceiling. Working with a partner can make the process easier and safer.
Conclusion
Installing an LED ceiling light, such as our Floria Ceiling Lights or Sunflower Ceiling Lights, is a rewarding DIY project that can significantly enhance the lighting and aesthetics of your space. These latest ceiling lights, with their advanced features like dimming functionality and energy - efficient LED technology, are not only practical but also stylish additions to any home or office. By following this step - by - step guide, you can confidently install your IMIGY Lighting LED ceiling light and enjoy a well - lit and beautiful environment. We encourage you to explore our range of products and take on this DIY adventure to transform your space.
It is recommended that you upgrade the latest browser
 Edge
Edge


