


In the intricate tapestry of interior design, ceiling down lights play a pivotal role. They are not merely sources of illumination but are essential elements that can transform the ambiance of any space, be it a cozy living room, a bustling office, or a stylish commercial establishment. At IMIGY Lighting, we understand the significance of providing high - quality ceiling down lights that seamlessly blend functionality with aesthetics. Our Melody Down Lights and Melody Pro Down Lights are prime examples of the best brand led downlights, offering a comprehensive lighting solution for various applications. This guide will walk you through the installation process and offer valuable design tips to help you make the most of these exceptional products.
The Significance of Ceiling Down Lights
Ceiling down lights, as an integral part of modern lighting design, offer numerous advantages. They provide direct and focused light, making them ideal for both general and task lighting. In a living room, they can serve as the main source of ambient light, creating a warm and inviting atmosphere. The best led downlights for living room, such as our Melody Down Lights and Melody Pro Down Lights, not only offer sufficient brightness but also enhance the overall decor of the space.
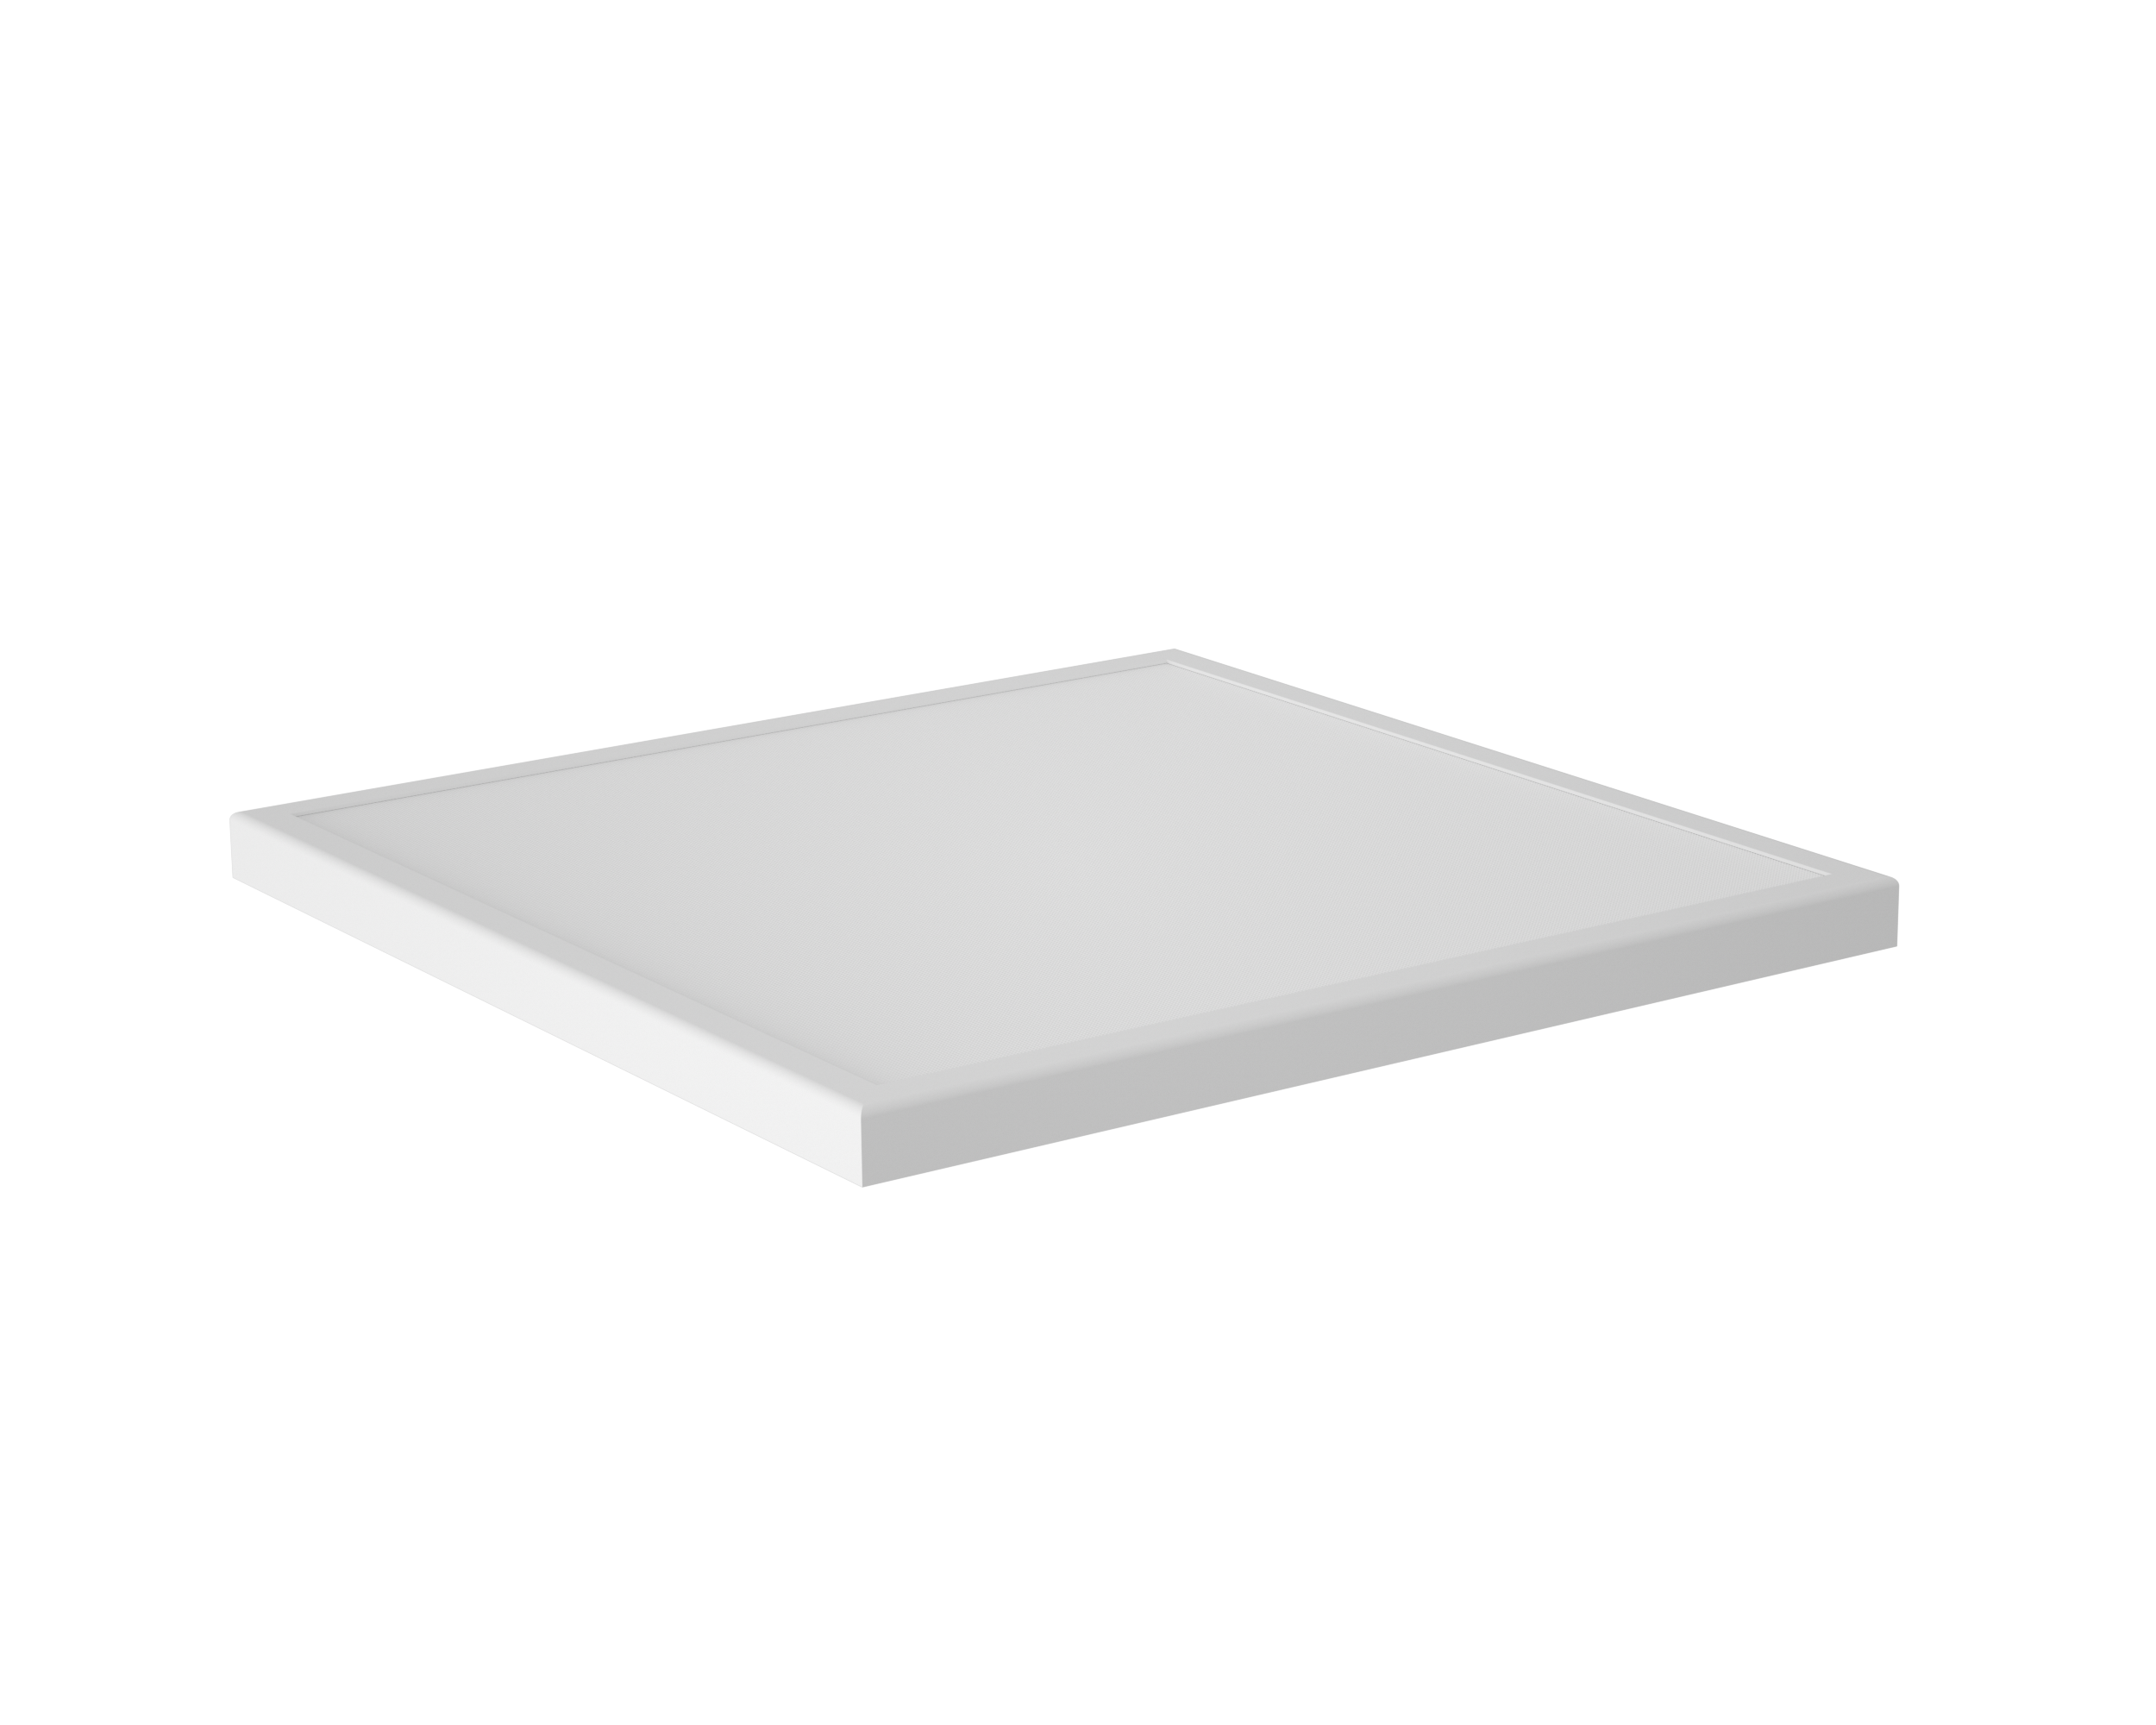
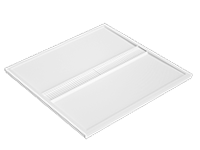
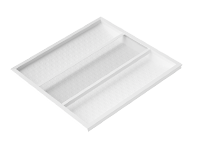
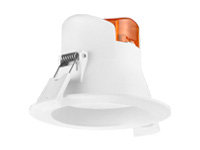
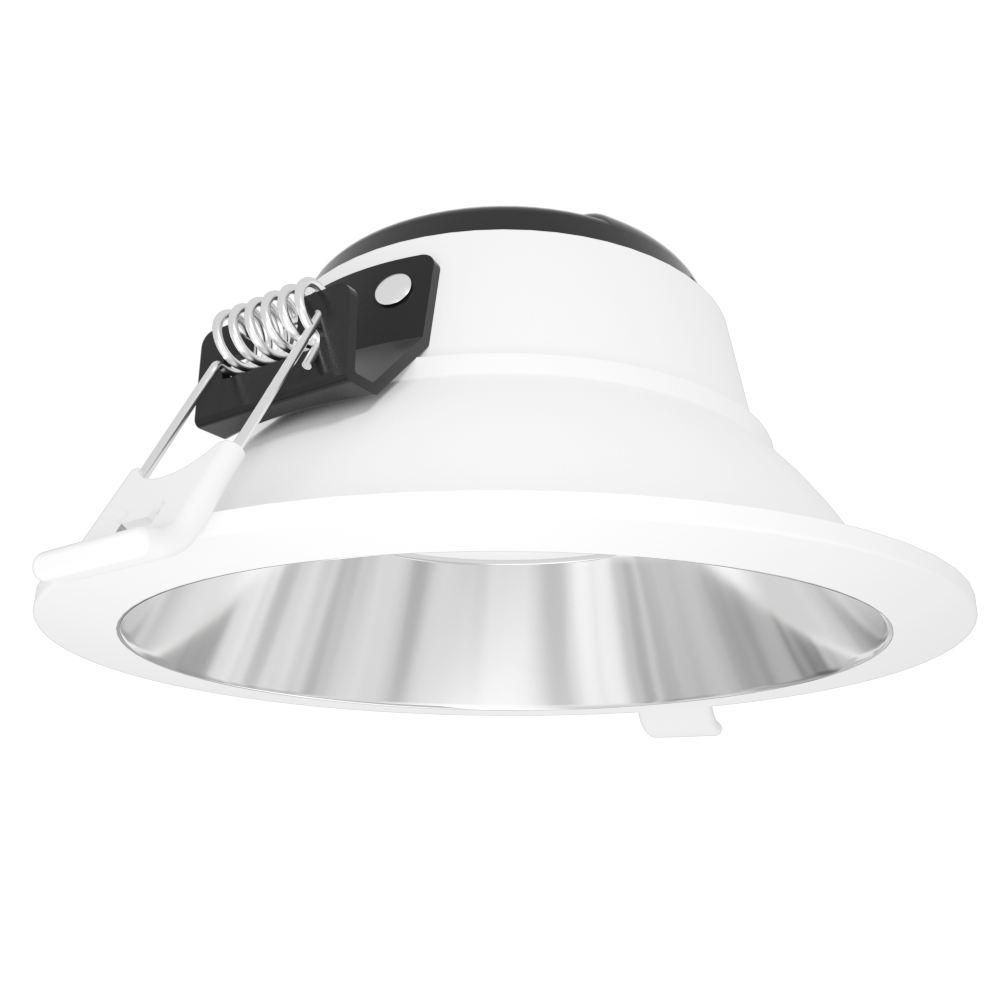
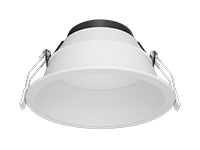
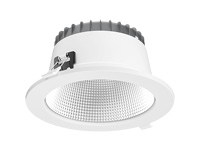
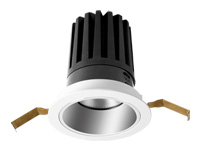
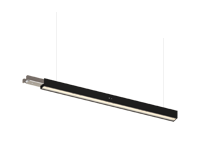
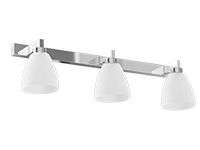
Among the different types of ceiling down lights, adjustable recessed downlights and LED surface downlights are popular choices. Adjustable recessed downlights, like the Melody Pro Down Lights in our range, offer the flexibility to direct light in different directions. This is particularly useful for highlighting focal points such as a piece of artwork, a display cabinet, or a cozy reading nook. LED surface downlights, on the other hand, are known for their easy installation and sleek appearance. Our Melody Down Lights, with their surface - mounted design, are a great example of this type, providing a simple yet effective lighting solution.
Installation Guide for Melody Down Lights

Preparation
Before starting the installation of the Melody Down Lights, gather all the necessary tools and materials. You will need a drill, screwdriver, wire stripper, electrical tape, and the mounting hardware provided with the product. Ensure that the power to the area where you will be working is turned off at the breaker box for safety reasons.
Mounting the Fixture
Mark the Ceiling: Use a measuring tape and a pencil to mark the positions on the ceiling where you want to install the Melody Down Lights. Make sure the marks are evenly spaced if you are installing multiple lights.
Drill Holes: Drill holes at the marked positions on the ceiling. The size of the holes should match the mounting hardware provided with the Melody Down Lights.
Insert Wall Plugs: Insert wall plugs into the drilled holes. These will help secure the mounting screws.
Attach the Mounting Brackets: Using screws, attach the mounting brackets to the ceiling through the wall plugs. Make sure the brackets are firmly in place.
Install the Light Fixture: Place the Melody Down Lights onto the mounting brackets and secure them with the provided screws. The surface - mounted design of the Melody Down Lights makes this process straightforward.
Wiring
Strip the Wires: Strip the ends of the electrical wires (both the power supply wire and the wire from the Melody Down Lights) using a wire stripper.
Connect the Wires: Connect the power supply wire to the wire from the Melody Down Lights according to the color - coding. Typically, the black wire is the live wire, the white wire is the neutral wire, and the green or bare wire is the ground wire. Use electrical tape to secure the connections.
Test the Connection: Before covering the wiring, turn on the power at the breaker box briefly to test if the Melody Down Lights are working. If they are not, turn off the power immediately and check the connections.
Cover the Wiring: Once the lights are working, cover the wiring with a suitable electrical box or conduit to ensure safety.

Installation Guide for Melody Pro Down Lights
Preparation
Similar to the Melody Down Lights, for the Melody Pro Down Lights, gather a drill, screwdriver, wire stripper, electrical tape, and the mounting hardware. Ensure the power is turned off at the breaker box.
Mounting the Adjustable Recessed Fixture
Cut the Ceiling Opening: For the adjustable recessed Melody Pro Down Lights, use a drywall saw to cut an opening in the ceiling according to the size specified in the product manual. Make sure the opening is clean and precise.
Install the Housing: Insert the housing of the Melody Pro Down Lights into the ceiling opening. Secure it in place using the provided mounting clips or screws.
Connect the Wiring: Strip the ends of the electrical wires and connect them to the wires inside the housing of the Melody Pro Down Lights, following the color - coding. Secure the connections with electrical tape.
Install the Adjustable Fixture: Once the wiring is complete, insert the adjustable fixture into the housing. The Melody Pro Down Lights' adjustable mechanism allows you to tilt and rotate the fixture to direct the light as needed.
Testing and Finishing
Turn on the power at the breaker box to test the Melody Pro Down Lights. Adjust the fixture to the desired angle and check the light output. Make any necessary adjustments to the wiring or the fixture position. Once satisfied, you can finish the installation by adding any decorative trim or covers provided with the product.
Design Tips for Using Melody Down Lights and Melody Pro Down Lights
Creating a Layered Lighting Effect
In a living room, combine the Melody Down Lights (as surface - mounted ambient light sources) with the Melody Pro Down Lights (as adjustable recessed downlights for accent lighting). For example, use the Melody Down Lights to provide overall illumination, while the Melody Pro Down Lights can be directed towards a fireplace, a piece of art, or a display area. This creates a layered lighting effect that adds depth and dimension to the space.
Choosing the Right Color Temperature
Both the Melody Down Lights and Melody Pro Down Lights offer a range of color temperature options. For a cozy and relaxing atmosphere in the living room, choose a warm white color temperature (around 2700K - 3000K). If you need a more energetic and bright environment, such as in a workspace or a dining area, a cool white color temperature (around 4000K - 5000K) would be more suitable.
Consider the Layout and Spacing
When installing multiple Melody Down Lights or Melody Pro Down Lights, consider the layout of the room. In a rectangular living room, place the lights in a linear pattern along the length of the room for a more balanced look. For a square - shaped room, a grid - like layout can be effective. Also, pay attention to the spacing between the lights. A general rule of thumb is to space them 3 - 4 feet apart, depending on the size of the room and the desired light intensity.
In conclusion, at IMIGY Lighting, our Melody Down Lights and Melody Pro Down Lights are top - tier ceiling down lights that offer easy installation and versatile design options. Whether you are looking to enhance the lighting in your living room, office, or any other space, these products, as part of the best brand led downlights, are an excellent choice. We encourage you to follow our installation guide and design tips to make the most of these high - quality lighting fixtures. By choosing IMIGY Lighting's Melody Down Lights and Melody Pro Down Lights, you are not only investing in superior lighting but also in the transformation of your space into a more inviting and functional area.
It is recommended that you upgrade the latest browser
 Edge
Edge


