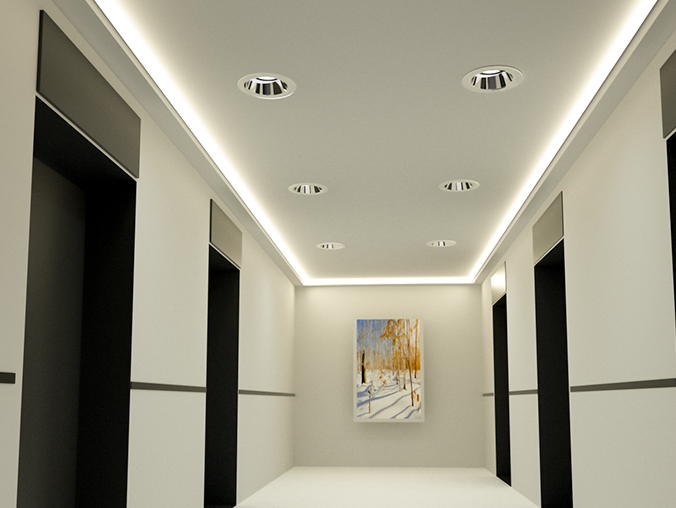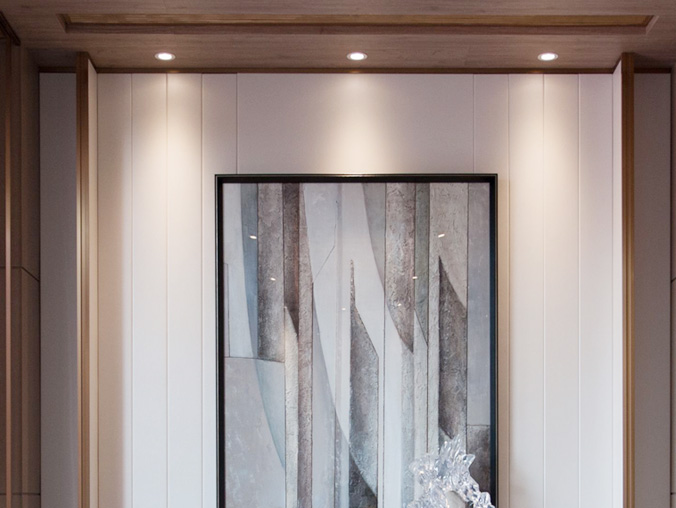

In the realm of interior lighting, ceiling recessed downlights play a pivotal role in creating a clean, modern, and inviting atmosphere. They are not merely sources of illumination but also key elements in enhancing the overall aesthetic of a space. At IMIGY Lighting, we take pride in offering a range of high - quality ceiling recessed downlights, such as our Magic Down Lights and Tulip Down Lights. These products are designed to meet the diverse needs of homeowners and interior designers, providing both functionality and style. In this article, we will guide you through the process of skillfully installing ceiling recessed downlights to achieve a neat aesthetic, while also highlighting the unique features of our products.
The Appeal of Ceiling Recessed Downlights
Aesthetic Harmony
Ceiling recessed downlights, like our offerings, blend seamlessly with the ceiling, creating a smooth and unobtrusive look. This is particularly appealing in modern interior designs, where minimalism and a clutter free environment are highly valued. The Magic Down Lights, with their sleek and low - profile design, disappear into the ceiling, leaving only a soft, warm glow. This not only adds to the visual appeal of the room but also makes the space appear more spacious and open. The Tulip Down Lights, on the other hand, feature an elegant and unique shape that adds a touch of sophistication to any space while still maintaining a recessed and unobtrusive presence.

Versatile Lighting Options
Our ceiling recessed downlights come with various lighting options. Many of our models, including some versions of the Magic Down Lights and Tulip Down Lights, are dimmable downlight LEDs. This allows you to adjust the brightness according to the mood and activity in the room. For example, in a living room, you can dim the lights for a cozy movie night or brighten them up for a lively gathering. Additionally, some of our downlights are cob LED downlights, which provide a high - quality, focused beam of light. This is ideal for highlighting specific areas, such as a piece of art or a display cabinet.

Installation Process of Ceiling Recessed Downlights
Preparation Before Installation
Before starting the installation, safety should always be the top priority. First, turn off the power supply to the area where you will be working. This prevents the risk of electric shock during the installation process. Next, measure the space where the downlights will be installed. Determine the number of downlights needed based on the size of the room and the desired lighting intensity. For our Magic Down Lights and Tulip Down Lights, carefully read the product manuals to understand the specific requirements for installation. Gather all the necessary tools, such as a drill, a hole saw, a screwdriver, wire strippers, and electrical tape.
Step - by - Step Installation
Marking and Cutting: Mark the positions on the ceiling where the downlights will be installed according to your measurements. Use a pencil or a marker to make clear marks. Then, use a hole saw to cut holes in the ceiling. The size of the hole should match the dimensions of the downlight's housing. For the Magic Down Lights, the precision - engineered housing has specific hole - size requirements to ensure a perfect fit. The Tulip Down Lights also have their own recommended hole sizes for optimal installation.
Mounting the Housing: Insert the downlight housing into the cut hole. Secure it in place using the provided mounting brackets. The mounting brackets for our Magic Down Lights are designed to be easy to install and provide a stable hold. For the Tulip Down Lights, the brackets are carefully crafted to fit the unique shape of the housing and ensure a secure installation. Connect the electrical wires from the ceiling to the wires in the downlight housing according to the wiring diagram provided with the product. Make sure to strip the wires properly and use wire nuts to connect them securely.
Installing the Light Fixture: Once the housing is mounted and wired, carefully insert the light fixture into the housing. For our dimmable downlight LEDs, like some models of Magic Down Lights and Tulip Down Lights, ensure that the dimming components are properly connected. The unique optical designs of these lights, especially the cob LED downlights, are crucial for providing a comfortable and high - quality lighting experience. Screw the light fixture into place to complete the installation.
Testing the Light: After installation, turn the power supply back on and test the ceiling recessed downlights. Check if they are functioning properly and if the light distribution is as expected. If you have installed dimmable downlights, test the dimming function to ensure it works smoothly. If there are any issues, turn off the power immediately and troubleshoot.
In conclusion, skillfully installing ceiling recessed downlights, such as IMIGY Lighting's Magic Down Lights and Tulip Down Lights, can significantly enhance the aesthetic and functionality of your space. Our products, with their unique designs, dimmable features, and high - quality cob LED options, offer a perfect combination of style and performance. Whether you are a DIY enthusiast looking to upgrade your home lighting or a professional interior designer working on a project, our ceiling recessed downlights are the ideal choice. Let IMIGY Lighting's ceiling recessed downlights transform your space into a more beautiful, comfortable, and well - lit environment.
It is recommended that you upgrade the latest browser
 Chrome
 Firefox
 Edge
Edge